Turbocharge Your Mac Terminal: The Ultimate Starship and Ghostty Setup Guide
Transform your Mac terminal experience with Starship and Ghostty. Learn how to set up gorgeous presets, enhance functionality, and create a terminal environment that's both beautiful and productive.
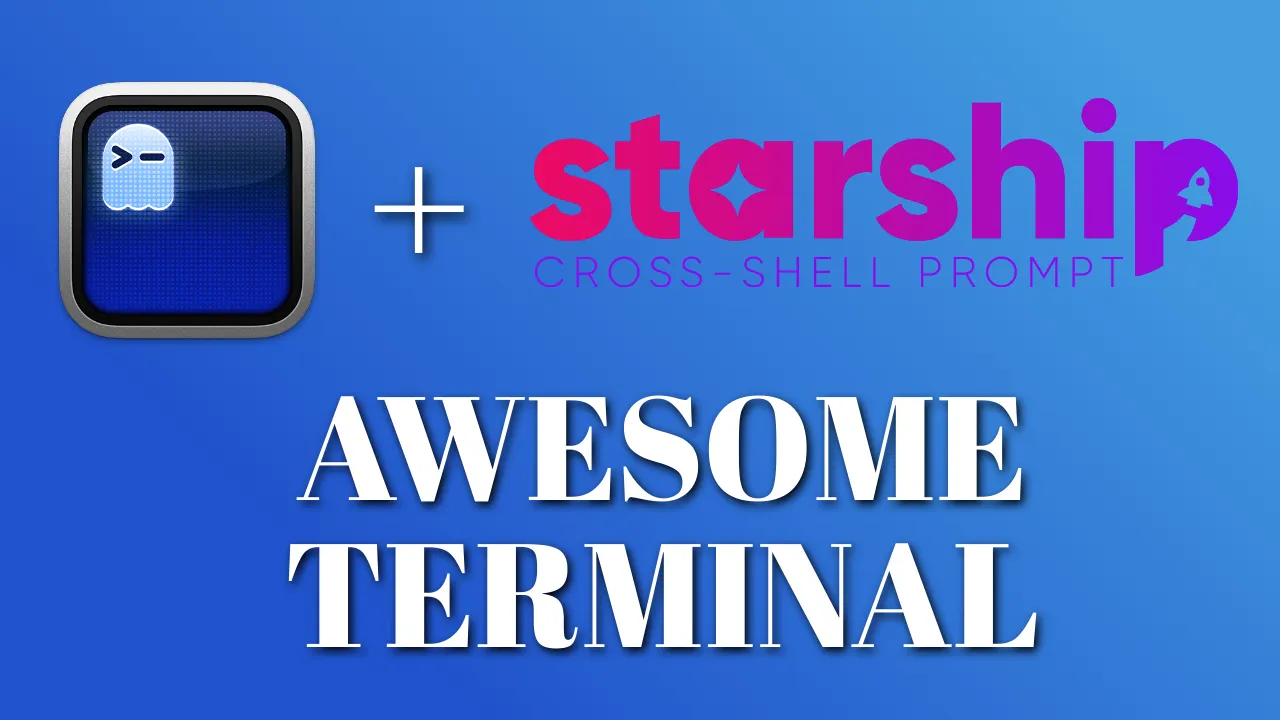
Table of Contents
- • Why Ghostty and Starship?
- • Step 1: Install Ghostty on Your Mac
- • Step 2: Install a Nerd Font for Enhanced Visuals
- • Step 3: Configure Ghostty for Optimal Appearance
- • Step 4: Install Starship for a Dynamic Prompt
- • Step 5: Apply Starship Presets for Instant Style
- • Step 6: Tweak Your Starship Config for Advanced Customization
- • Step 7: Install zoxide for Smarter Navigation
- • Step 8: Install eza for Prettier Directory Listings
- • Step 9: Create Custom Commands with Aliases
- • Step 10: Bonus Zsh Plugins for Enhanced Productivity
- • Troubleshooting: Ghostty Gotchas
- • Conclusion
Join BitBuddies
Level up your DevOps skills with hands-on courses on CloudPanel and Dockploy. Join our community of developers and get expert workshops to accelerate your online journey.
Start your journey to DevOps mastery today! 🚀
Your Mac terminal is about to transform from a bland command-line interface into a sleek, powerful tool that boosts productivity and turns heads. In this guide, we’ll harness Ghostty, a GPU-accelerated terminal emulator, and Starship, a highly customizable prompt, to create a modern development environment. With Starship presets like Tokyo Night and Catppuccin Powerline, plus enhancements like zoxide, exa, and custom aliases, your terminal will be both functional and stylish. Let’s dive in and make your command line a productivity powerhouse.
Why Ghostty and Starship?
Ghostty is a cutting-edge terminal emulator built with Zig for exceptional performance. It offers GPU acceleration, native macOS integration, and a straightforward configuration system, making it ideal for developers seeking speed and flexibility. Learn more at ghostty.org.
Starship is a cross-shell prompt that integrates seamlessly with Zsh, macOS’s default shell since Catalina. It delivers a fast, customizable prompt with prebuilt presets that display critical information like Git status, directory paths, and runtime environments in a visually appealing format. Explore its capabilities at starship.rs.
Together, Ghostty and Starship create a terminal experience that’s as efficient as it is elegant, tailored for developers who demand both form and function.
Step 1: Install Ghostty on Your Mac
To begin, install Ghostty using Homebrew, the preferred package manager for macOS:
brew install --cask ghosttyThis command installs Ghostty into your Applications folder. If you don’t have Homebrew, set it up first:
/bin/bash -c "$(curl -fsSL https://raw.githubusercontent.com/Homebrew/install/HEAD/install.sh)"Launch Ghostty from the Applications folder or by typing ghostty in your current terminal. Its performance is noticeably snappy, thanks to GPU acceleration. For alternative installation methods, visit ghostty.org/download.
Step 2: Install a Nerd Font for Enhanced Visuals
Starship’s rich prompt features rely on a font with extensive glyph support. Meslo Nerd Font is an excellent choice for its clarity and developer-friendly icons.
Install it via Homebrew:
brew install font-meslo-lg-nerd-fontVerify the font’s installation in Font Book by searching for “Meslo.” For additional font options, explore nerdfonts.com.
Step 3: Configure Ghostty for Optimal Appearance
Ghostty’s configuration file allows precise control over its look and feel. Create or edit the config file:
mkdir -p ~/.config/ghostty
touch ~/.config/ghostty/config
open -e ~/.config/ghostty/config
Add the following configuration:
font-family = MesloLGS Nerd Font Mono
font-size = 16
background-opacity = 0.85
theme = Argonaut
This configuration:
- Sets
MesloLGS Nerd Font Monoas the font for clear, icon-rich rendering. - Uses a font size of 16 for readability.
- Applies 85% background opacity for a subtle transparency effect.
- Selects the Argonaut theme for a clean, professional look. List available themes with
ghostty +list-themesor fonts withghostty +list-fonts.
Save the file and restart Ghostty to apply the changes. Your terminal should now feel polished and responsive.
Step 4: Install Starship for a Dynamic Prompt
Starship elevates your prompt with contextual information and stunning visuals. Install it with Homebrew:
brew install starshipIntegrate Starship with Zsh by adding it to your ~/.zshrc:
echo 'eval "$(starship init zsh)"' >> ~/.zshrc
source ~/.zshrc
This ensures Starship loads with every new Zsh session. For other shells, refer to Starship’s installation guide.
Step 5: Apply Starship Presets for Instant Style
Starship’s presets provide ready-to-use configurations that save time while delivering professional aesthetics. We’ll explore two popular options: Tokyo Night and Catppuccin Powerline. Browse all presets at starship.rs/presets.
Option 1: Tokyo Night Preset
The Tokyo Night preset offers a dark, vibrant theme inspired by urban nightscapes, ideal for developers who thrive in a cyberpunk aesthetic.
Apply it with:
starship preset tokyo-night -o ~/.config/starship.tomlThis creates a starship.toml file in ~/.config/. Inspect it with:
open -e ~/.config/starship.tomlThe preset includes modules for Git status, current directory, and programming language versions, styled in Tokyo Night’s signature purples and blues. Restart your terminal or run source ~/.zshrc to see the result.
Option 2: Catppuccin Powerline Preset
For a softer, pastel-inspired look, the Catppuccin Powerline preset delivers a clean, powerline-style prompt with warm tones.
Apply it with:
starship preset catppuccin-powerline -o ~/.config/starship.tomlThis overwrites the existing starship.toml. The preset features smooth segment transitions and a cohesive color scheme. Reload your shell with source ~/.zshrc to apply it.
Step 6: Tweak Your Starship Config for Advanced Customization
Starship’s starship.toml file is your playground for tailoring the prompt to your workflow. Below are professional-grade tweaks to enhance functionality and aesthetics, building on the preset you’ve chosen.
Open the config file:
open -e ~/.config/starship.tomlAdd Modules for Contextual Awareness
Enable additional modules to display relevant information. For example, to show battery status and Node.js version:
[battery]
disabled = false
full_symbol = "🔋 "
charging_symbol = "⚡️ "
discharging_symbol = "🔌 "

[nodejs]
disabled = false
symbol = "⬢ "
These additions display your battery level (useful for laptop users) and the active Node.js version when in a project directory.
Customize Prompt Appearance
Adjust the prompt’s format for clarity. For instance, to shorten directory paths and add a timestamp:
[username]
style_user = "blue bold"
style_root = "red bold"
format = "[$user]($style)@"

[hostname]
ssh_only = false
format = "[$hostname]($style):"

[directory]
truncation_length = 3
truncate_to_repo = true
format = "[$path]($style)[$read_only]($read_only_style) "

[time]
disabled = false
format = "[$time]($style) "
time_format = "%R"
This configuration:
- Shows your username and hostname for context (e.g., when SSH’d into a server).
- Truncates long directory paths to three segments or the Git repo root.
- Displays the current time in 24-hour format.
Fine-Tune Colors and Styles
Match your prompt’s colors to your Ghostty theme. For example, to tweak the Git status colors:
[git_status]
conflicted = "⚔️ "
ahead = "🚀 "
behind = "🐢 "
diverged = "🔀 "
untracked = "🛤️ "
stashed = "📦 "
modified = "📝 "
staged = "✅ "
deleted = "🗑️ "
style = "bold purple"
This uses emojis for visual clarity and a bold purple style to align with Tokyo Night or Catppuccin.
Enable Command Duration
Show how long commands take to execute, which is great for debugging slow scripts:
[cmd_duration]
min_time = 500
format = "took [$duration]($style) "
style = "yellow bold"
This displays the duration for commands taking longer than 500ms.
For a comprehensive list of modules and options, consult Starship’s configuration documentation. Save your changes and reload with source ~/.zshrc to see the updated prompt.
Step 7: Install zoxide for Smarter Navigation
zoxide is an intelligent alternative to the cd command, learning your most frequently used directories and enabling quick navigation with the z command.
Install it with Homebrew:
brew install zoxideAdd it to your ~/.zshrc:
echo 'eval "$(zoxide init zsh)"' >> ~/.zshrc
source ~/.zshrc
Now, use z instead of cd. For example, z proj jumps to your ~/Projects directory if it’s frequently used. Over time, zoxide prioritizes your most-visited directories, making navigation effortless. Learn more at zoxide’s documentation.
Step 8: Install eza for Prettier Directory Listings
Replace the default ls command with eza, a modern tool that provides colorized, icon-rich directory listings.
Install it with Homebrew:
brew install ezaAdd aliases to your ~/.zshrc for a better experience:
echo 'alias ls="eza --icons"' >> ~/.zshrc
echo 'alias ll="eza -l --icons"' >> ~/.zshrc
echo 'alias la="eza -la --icons"' >> ~/.zshrc
source ~/.zshrc
These aliases:
ls: Lists files with icons for file types.ll: Shows a detailed list with icons.la: Includes hidden files in the detailed list.
Eza’s vibrant output makes directory navigation more intuitive. Explore its features at eza’s website.
Step 9: Create Custom Commands with Aliases
Streamline your workflow with custom aliases in your ~/.zshrc. These shortcuts save time for common tasks.
Add the following to ~/.zshrc:
# Quick edit configuration files
alias editstarship="vim ~/.config/starship.toml"
alias editghost="vim ~/.config/ghostty/config"

# Git shortcuts
alias gs="git status"
alias ga="git add"
alias gc="git commit -m"
alias gp="git push"

# Quick directory navigation
alias dev="cd ~/Development"
alias docs="cd ~/Documents"
Apply the changes:
source ~/.zshrcThese aliases:
- Allow quick editing of Starship and Ghostty configs (
editstarship,editghost). - Simplify Git commands (
gs,ga,gc,gp). - Provide fast navigation to common directories (
dev,docs).
Step 10: Bonus Zsh Plugins for Enhanced Productivity
Boost your terminal further with zsh-autosuggestions and zsh-syntax-highlighting, which improve command input and error detection.
Install them with Homebrew:
brew install zsh-autosuggestions zsh-syntax-highlightingAdd to your ~/.zshrc:
echo "source $(brew --prefix)/share/zsh-autosuggestions/zsh-autosuggestions.zsh" >> ~/.zshrc
echo "source $(brew --prefix)/share/zsh-syntax-highlighting/zsh-syntax-highlighting.zsh" >> ~/.zshrc
source ~/.zshrc- zsh-autosuggestions: Suggests commands based on your history, displayed in gray. Accept with the right arrow key.
- zsh-syntax-highlighting: Highlights valid commands in green and invalid ones in red, catching errors before execution.
For detailed setup guides, see Enable Command Autocomplete in Zsh and Enable Syntax Highlighting in Zsh.
Troubleshooting: Ghostty Gotchas
Error: 'xterm-ghostty': unknown terminal type
Some tools may not recognize Ghostty’s terminal type. Fix it for the current session:
export TERM=xterm-256colorFor a permanent solution, add to your ~/.zshrc:
echo "export TERM=xterm-256color" >> ~/.zshrc
source ~/.zshrc
Conclusion
Your Mac terminal is now a high-performance, visually stunning environment powered by Ghostty and Starship. With presets like Tokyo Night or Catppuccin Powerline, customized Starship modules, and tools like zoxide, exa, and aliases, you’ve built a setup that maximizes productivity and aesthetics. Continue exploring Ghostty’s features like shaders or the Terminal Inspector, and tweak your starship.toml to match your workflow.
For more inspiration, visit toolhunt.net’s Mac apps section or Starship’s preset gallery. Your terminal is ready to make coding sessions both efficient and enjoyable—happy hacking!
Related Posts
How To Update A Container With Docker Compose
How To Update A Container With Docker Compose is a tutorial that shows you how to use Docker Compose to update a container image and configuration without losing any data or settings.
How to Add Users to a Docker Container
Master Docker user management by learning how to create users, assign permissions, and implement security best practices in containers.

Best 100+ Docker Containers for Home Server
Check out this comprehensive list with 100+ docker containers that you can use on your home server in 2026.