How to Launch Your Own Newsletter Platform with Keila and Docker
Deploy Keila self-hosted newsletter on your server with Docker and EasyPanel.

Keila is an open source email newsletter tool that allows you to create and send engaging campaigns to your contacts.
Some of the features of Keila are:
- Easy import of contacts: You can upload a CSV file with your existing contacts and start sending newsletters right away.
- Custom data and tags: You can add any information you want to your contacts and use it to filter them or personalize your campaigns.
- Smart segments: You can create subsets of your contacts based on criteria you define with a visual editor or a query language.
- Privacy and data ownership: You can host Keila on your servers and keep full control of your data. Keila also respects the privacy of your contacts and gives you useful statistics without tracking them.
Keila can be deployed easily to your server with the help of Docker, you will need to use an SMTP to send the campaigns, if you don’t have a SMTP service that you are using you can check: Mail.Baby Review a service that can help you send emails on a budget.
Keila can help you create forms to collect emails but does not have a double opt-in option like ListMonk yet, this is under work.
If you are interested to see some free cool open source self hosted apps you can check toolhunt.net self hosted section.
How to Install Keila
In this article, we are going to see everything that needs to be done to set Keila and start sending newsletters, we are going to use EasyPanel for this as it offers easy control and setup.
In case you are interested to monitor server resources like CPU, memory, disk space you can check: How To Monitor Server and Docker Resources
1.Deploy a Hetzner VPS
The first part is to have a server ready where we can deploy Easypanel, my preferred choice is Easypanel. The recommendation for Easypanel is to have at least 2 CPUs and 2 GB of memory and you can use an Ubuntu installation. In the video, we go into detail about how you can do that on Hetzner. You can check this Hetzner Review for more details if you are not aware of Hetzner and what it can do.
Hetzner €20 Free2. Install Easypanel.io
To do this you just need to run a simple command and Easypanel will be installed:
curl -sSL https://get.easypanel.io | shThe complete EasyPanel Setup tutorial can be followed to properly set EasyPanel.
3. Create an Easypanel Project
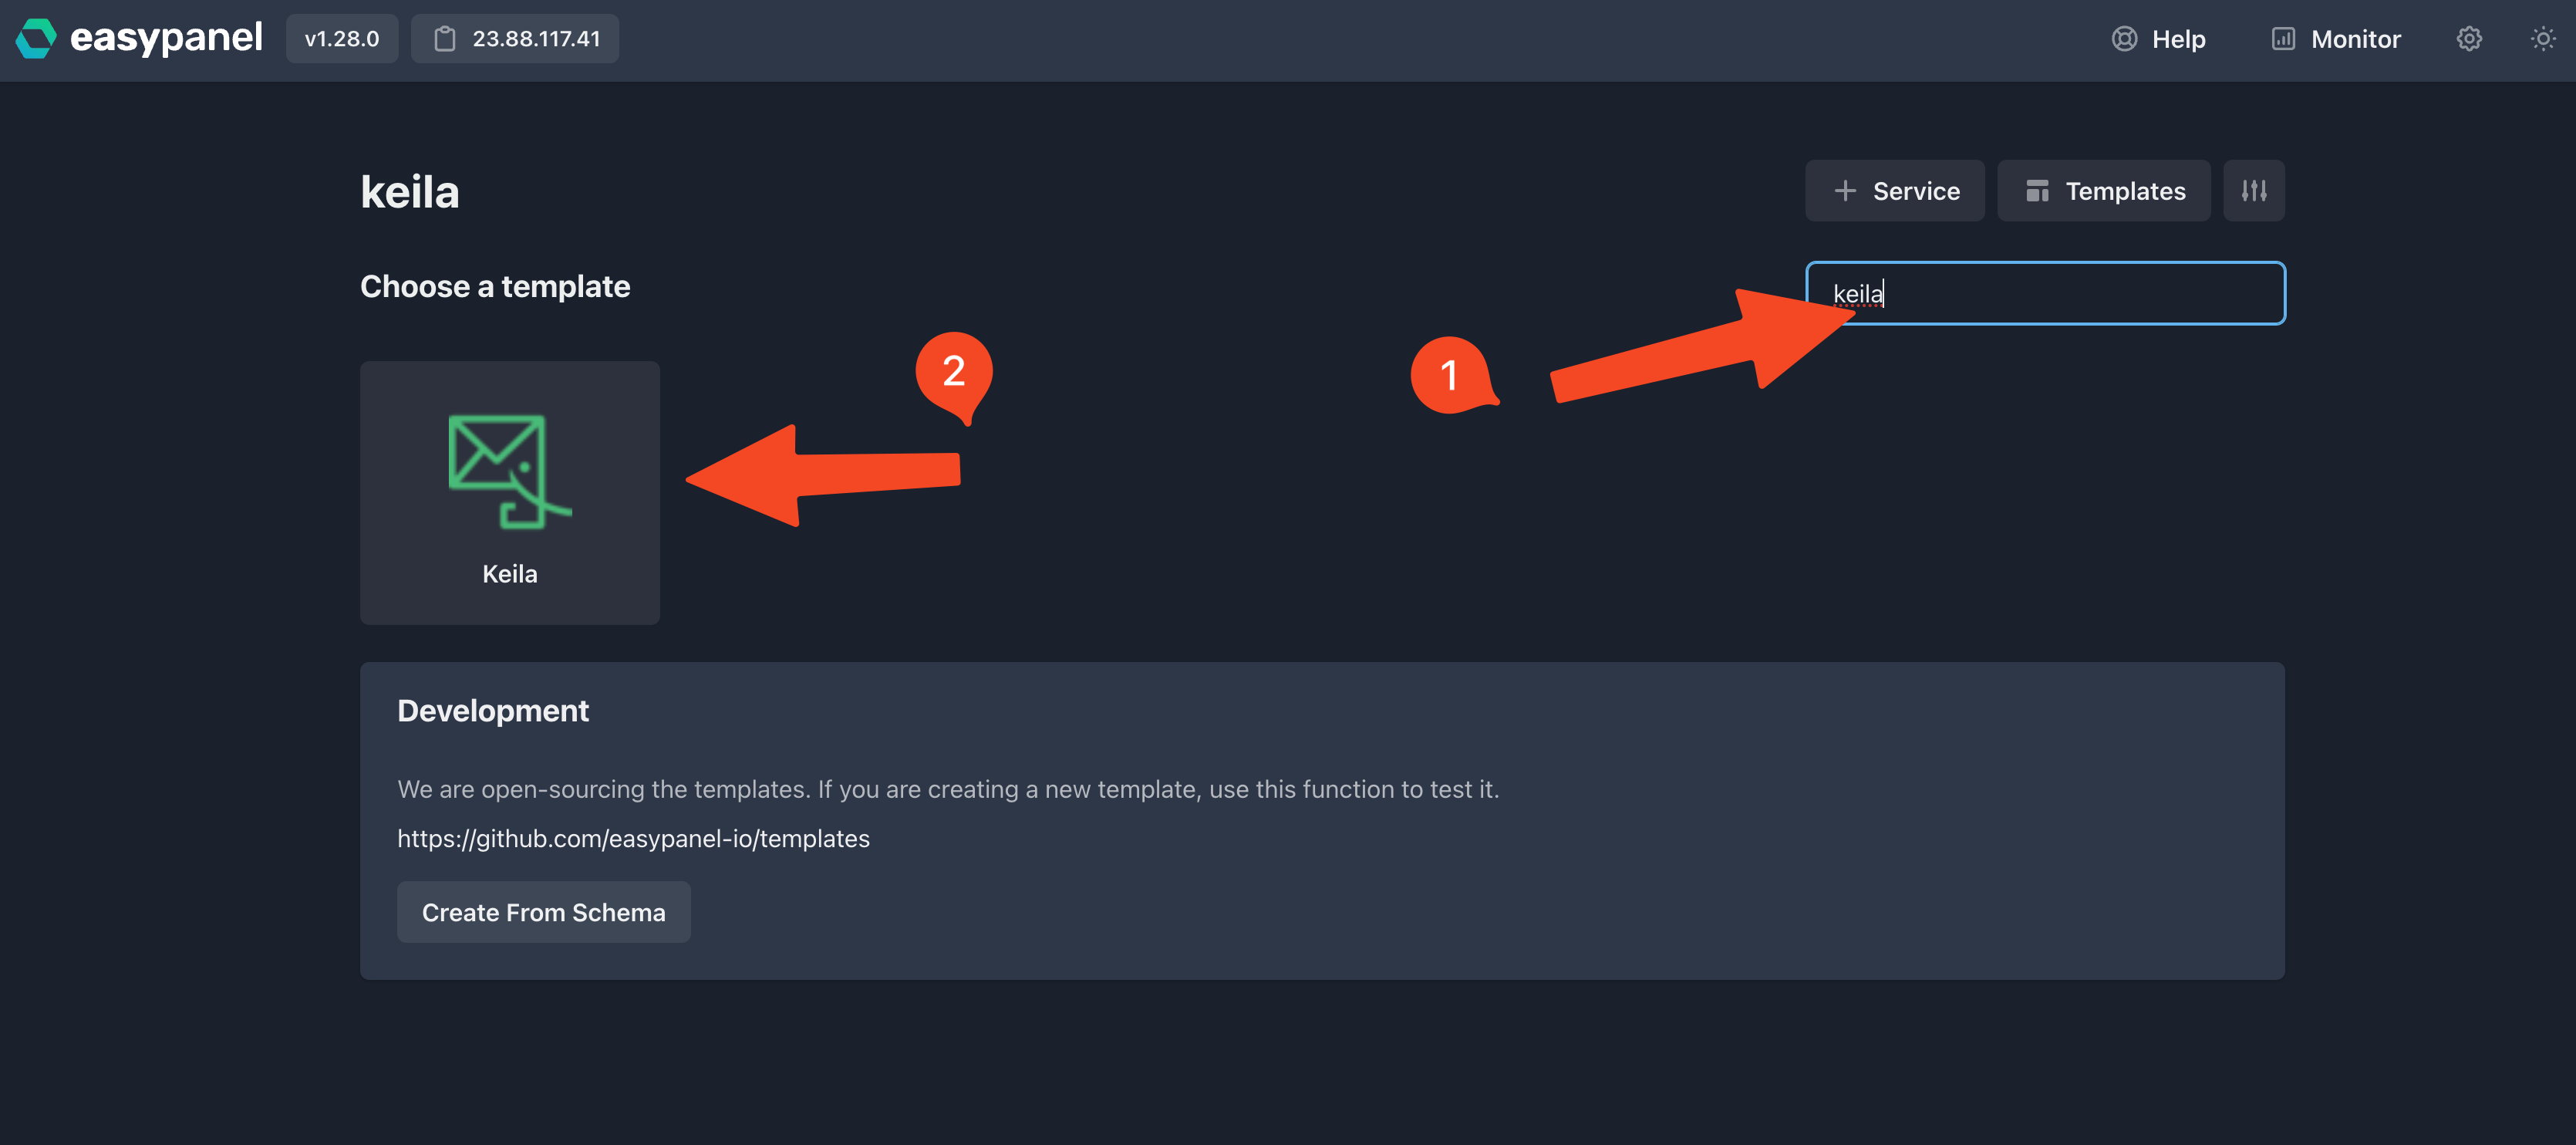
After you install EasyPanel you will need to add your first project and go and choose the Keila from the templates they have, as in the below picture:
4. Create Keila in EaasyPanel
Next, you will need to add the details for deploying Keila:
- App Service Name: name of the app in easypanel
- App Service Image: use
pentacent/keila:latestto use the latest one. - Database Service Name: name for the DB container service
- SMTP details: System From Email, SMTP Email Host,SMTP Email Port, SMTP Email Username, SMTP Email Password, if you don’t have an SMTP provider you can check: Mail.Baby Review
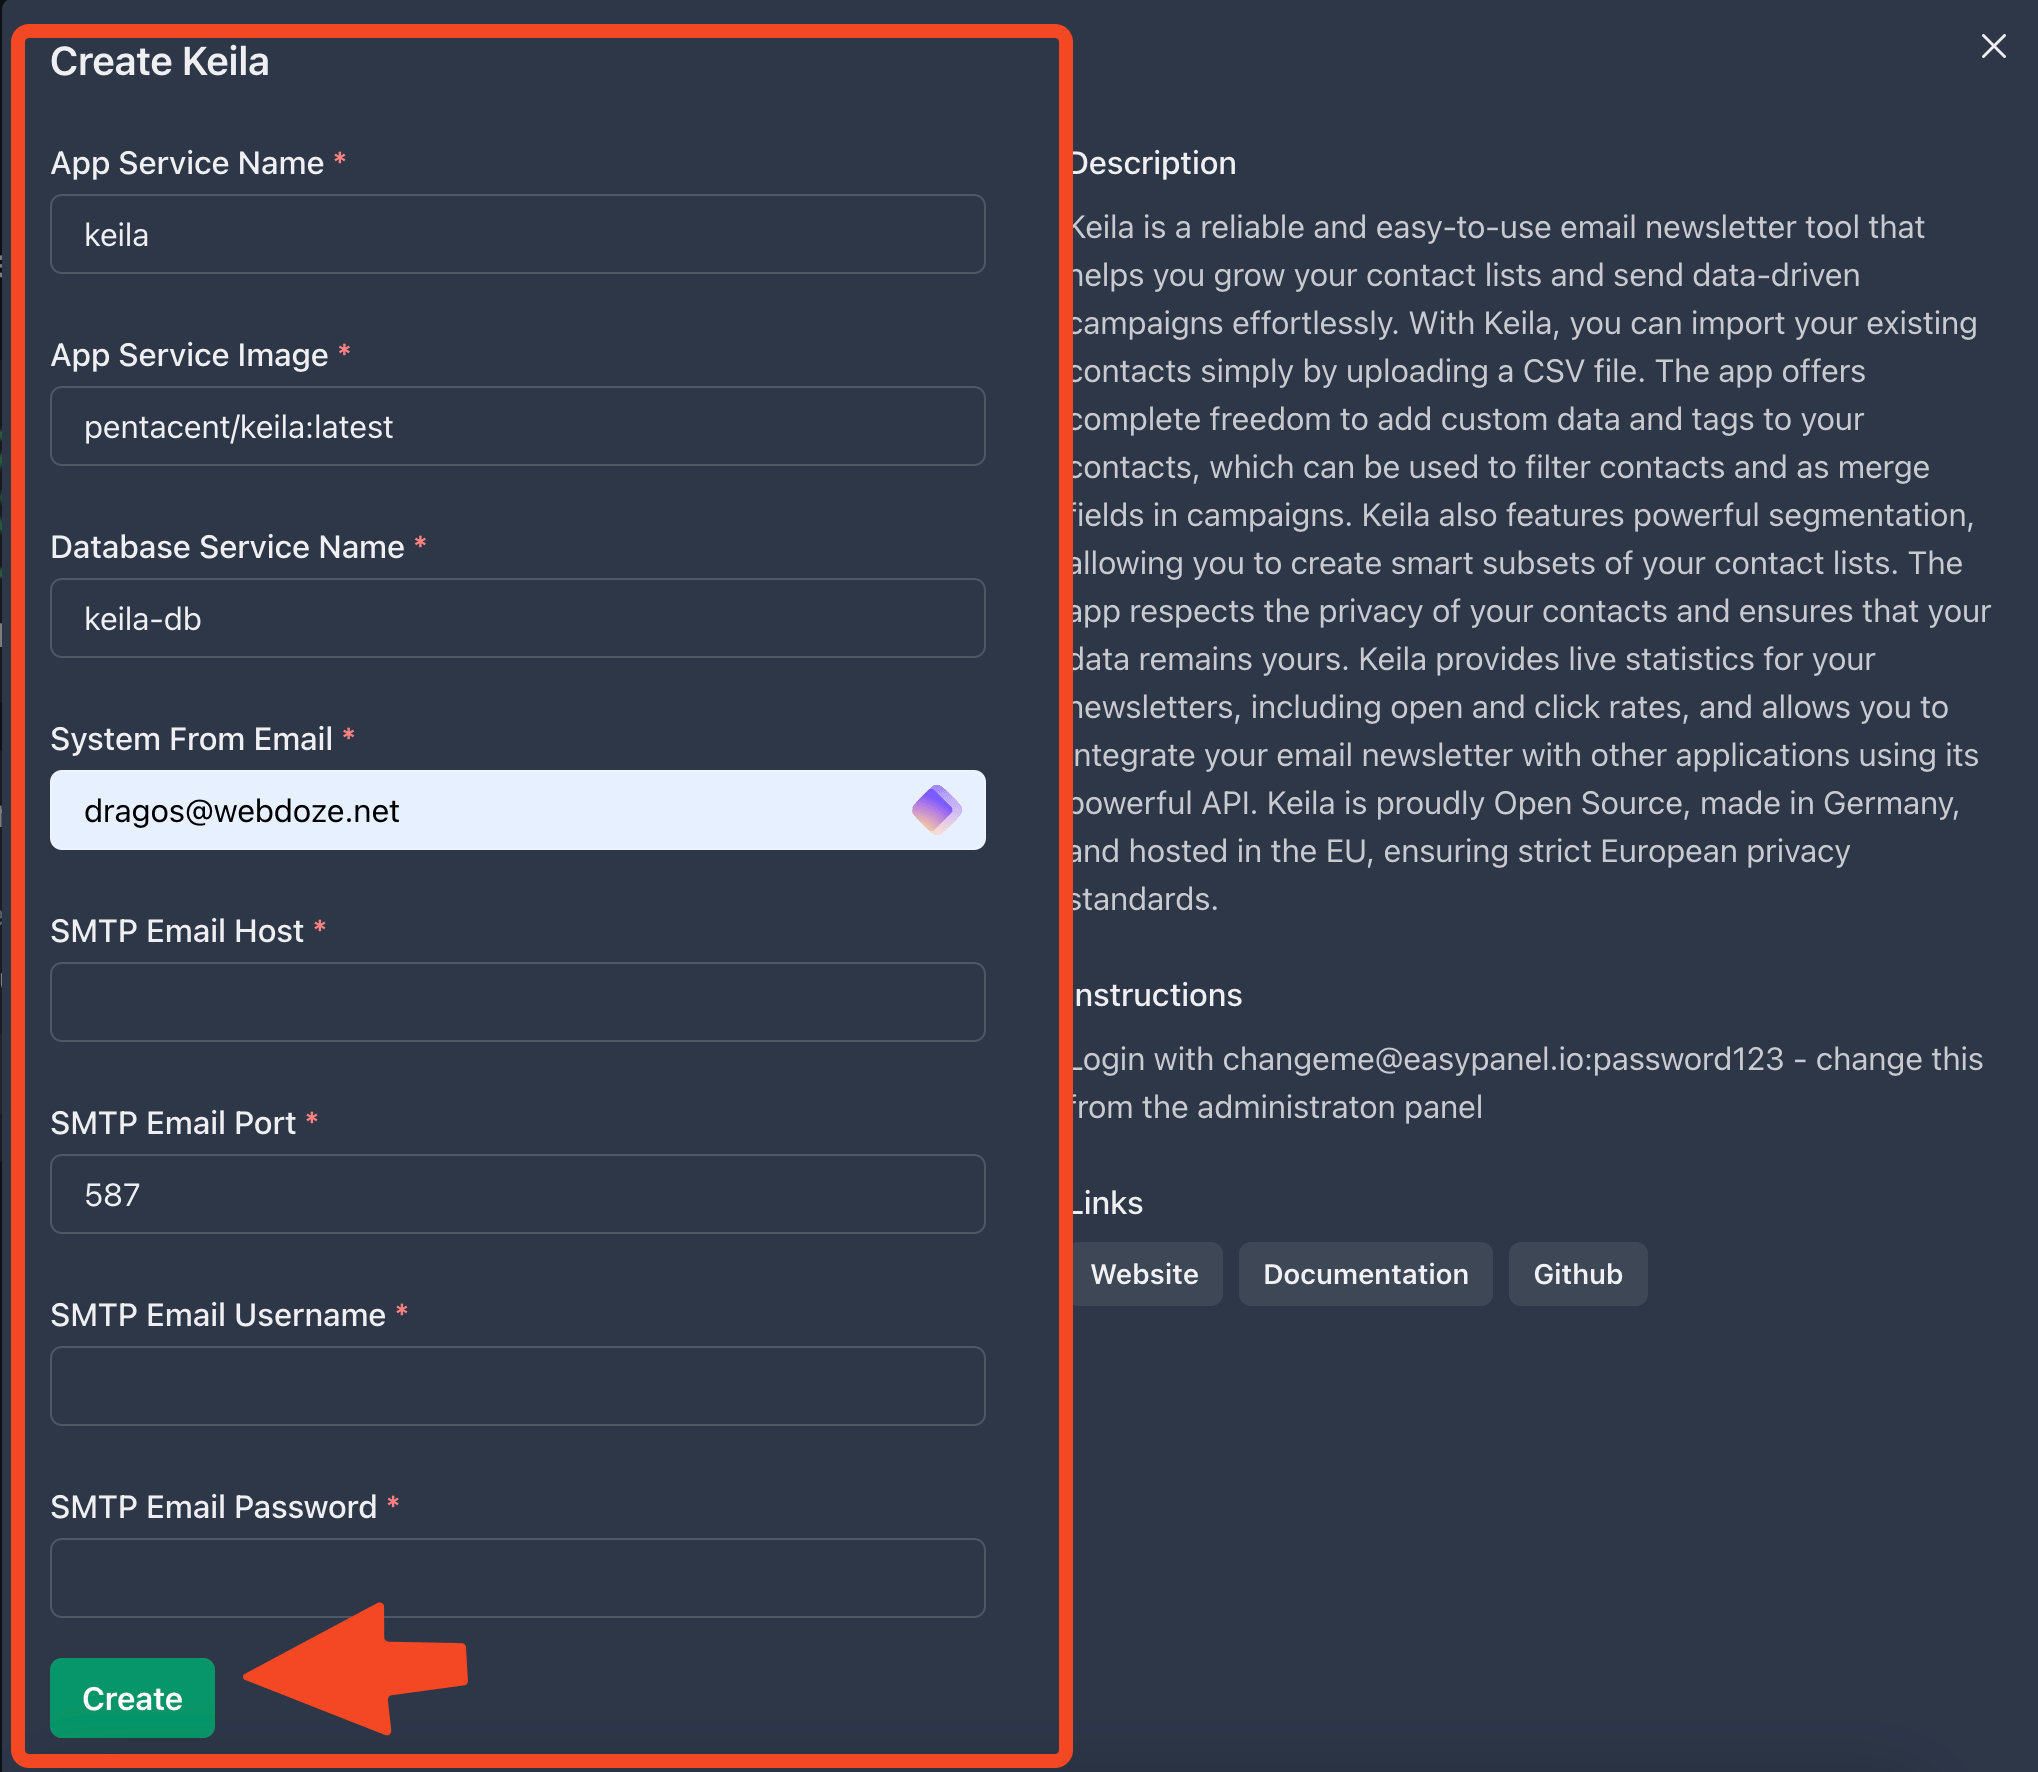
At the end you hit create.
Then you will be prompted to use the generated user and password that can be changed later:
Login with [email protected]:password123 - change this from the administration panel.
5. Add your domain to the installation
By default, easypanel will use his domain for this, but you can add your domain or subdomain to access Keila, to do this you need to go under project domains in EasyPanel and add your own.
You need first to point the A record to the EasyPanel server IP for the domain for this to work.
6. Configure Keila
After you set up the domain you can access Keila and change the password for the admin user, also you can add your first project and senders you have. You can use different senders for different projects. The video has more details about this.
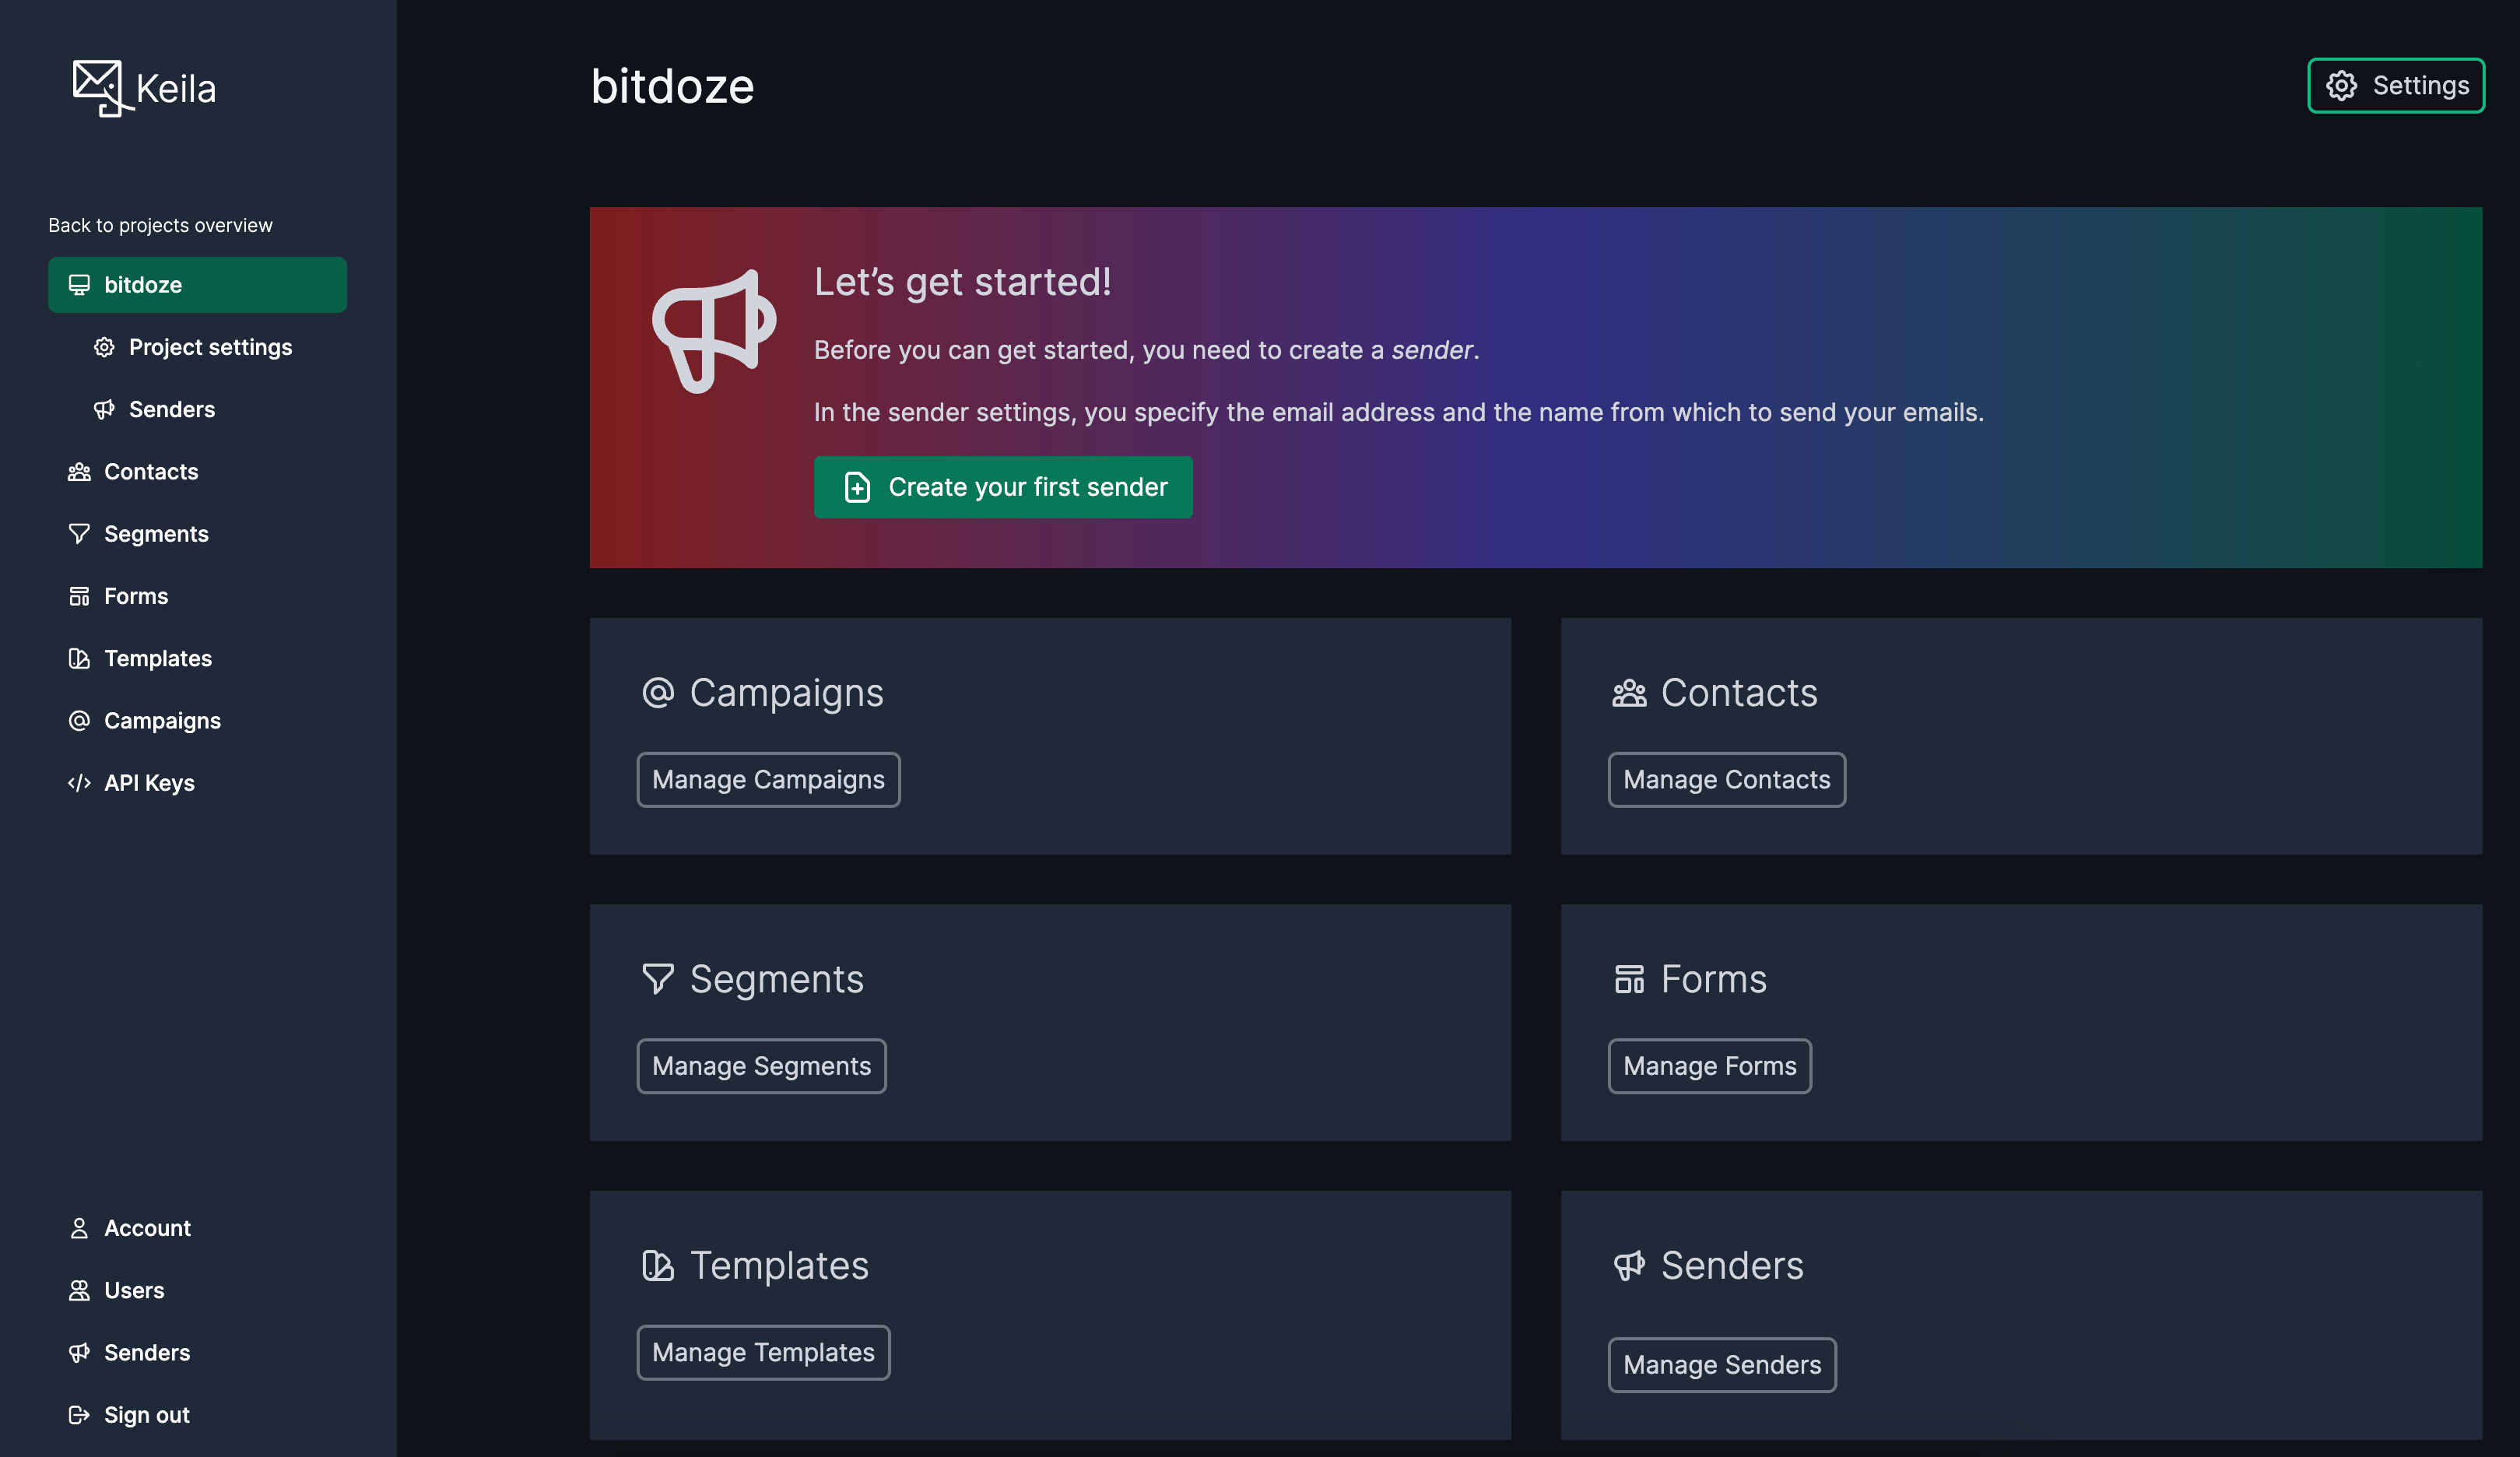
Now you can import your contacts, create forms and start sending newsletters.
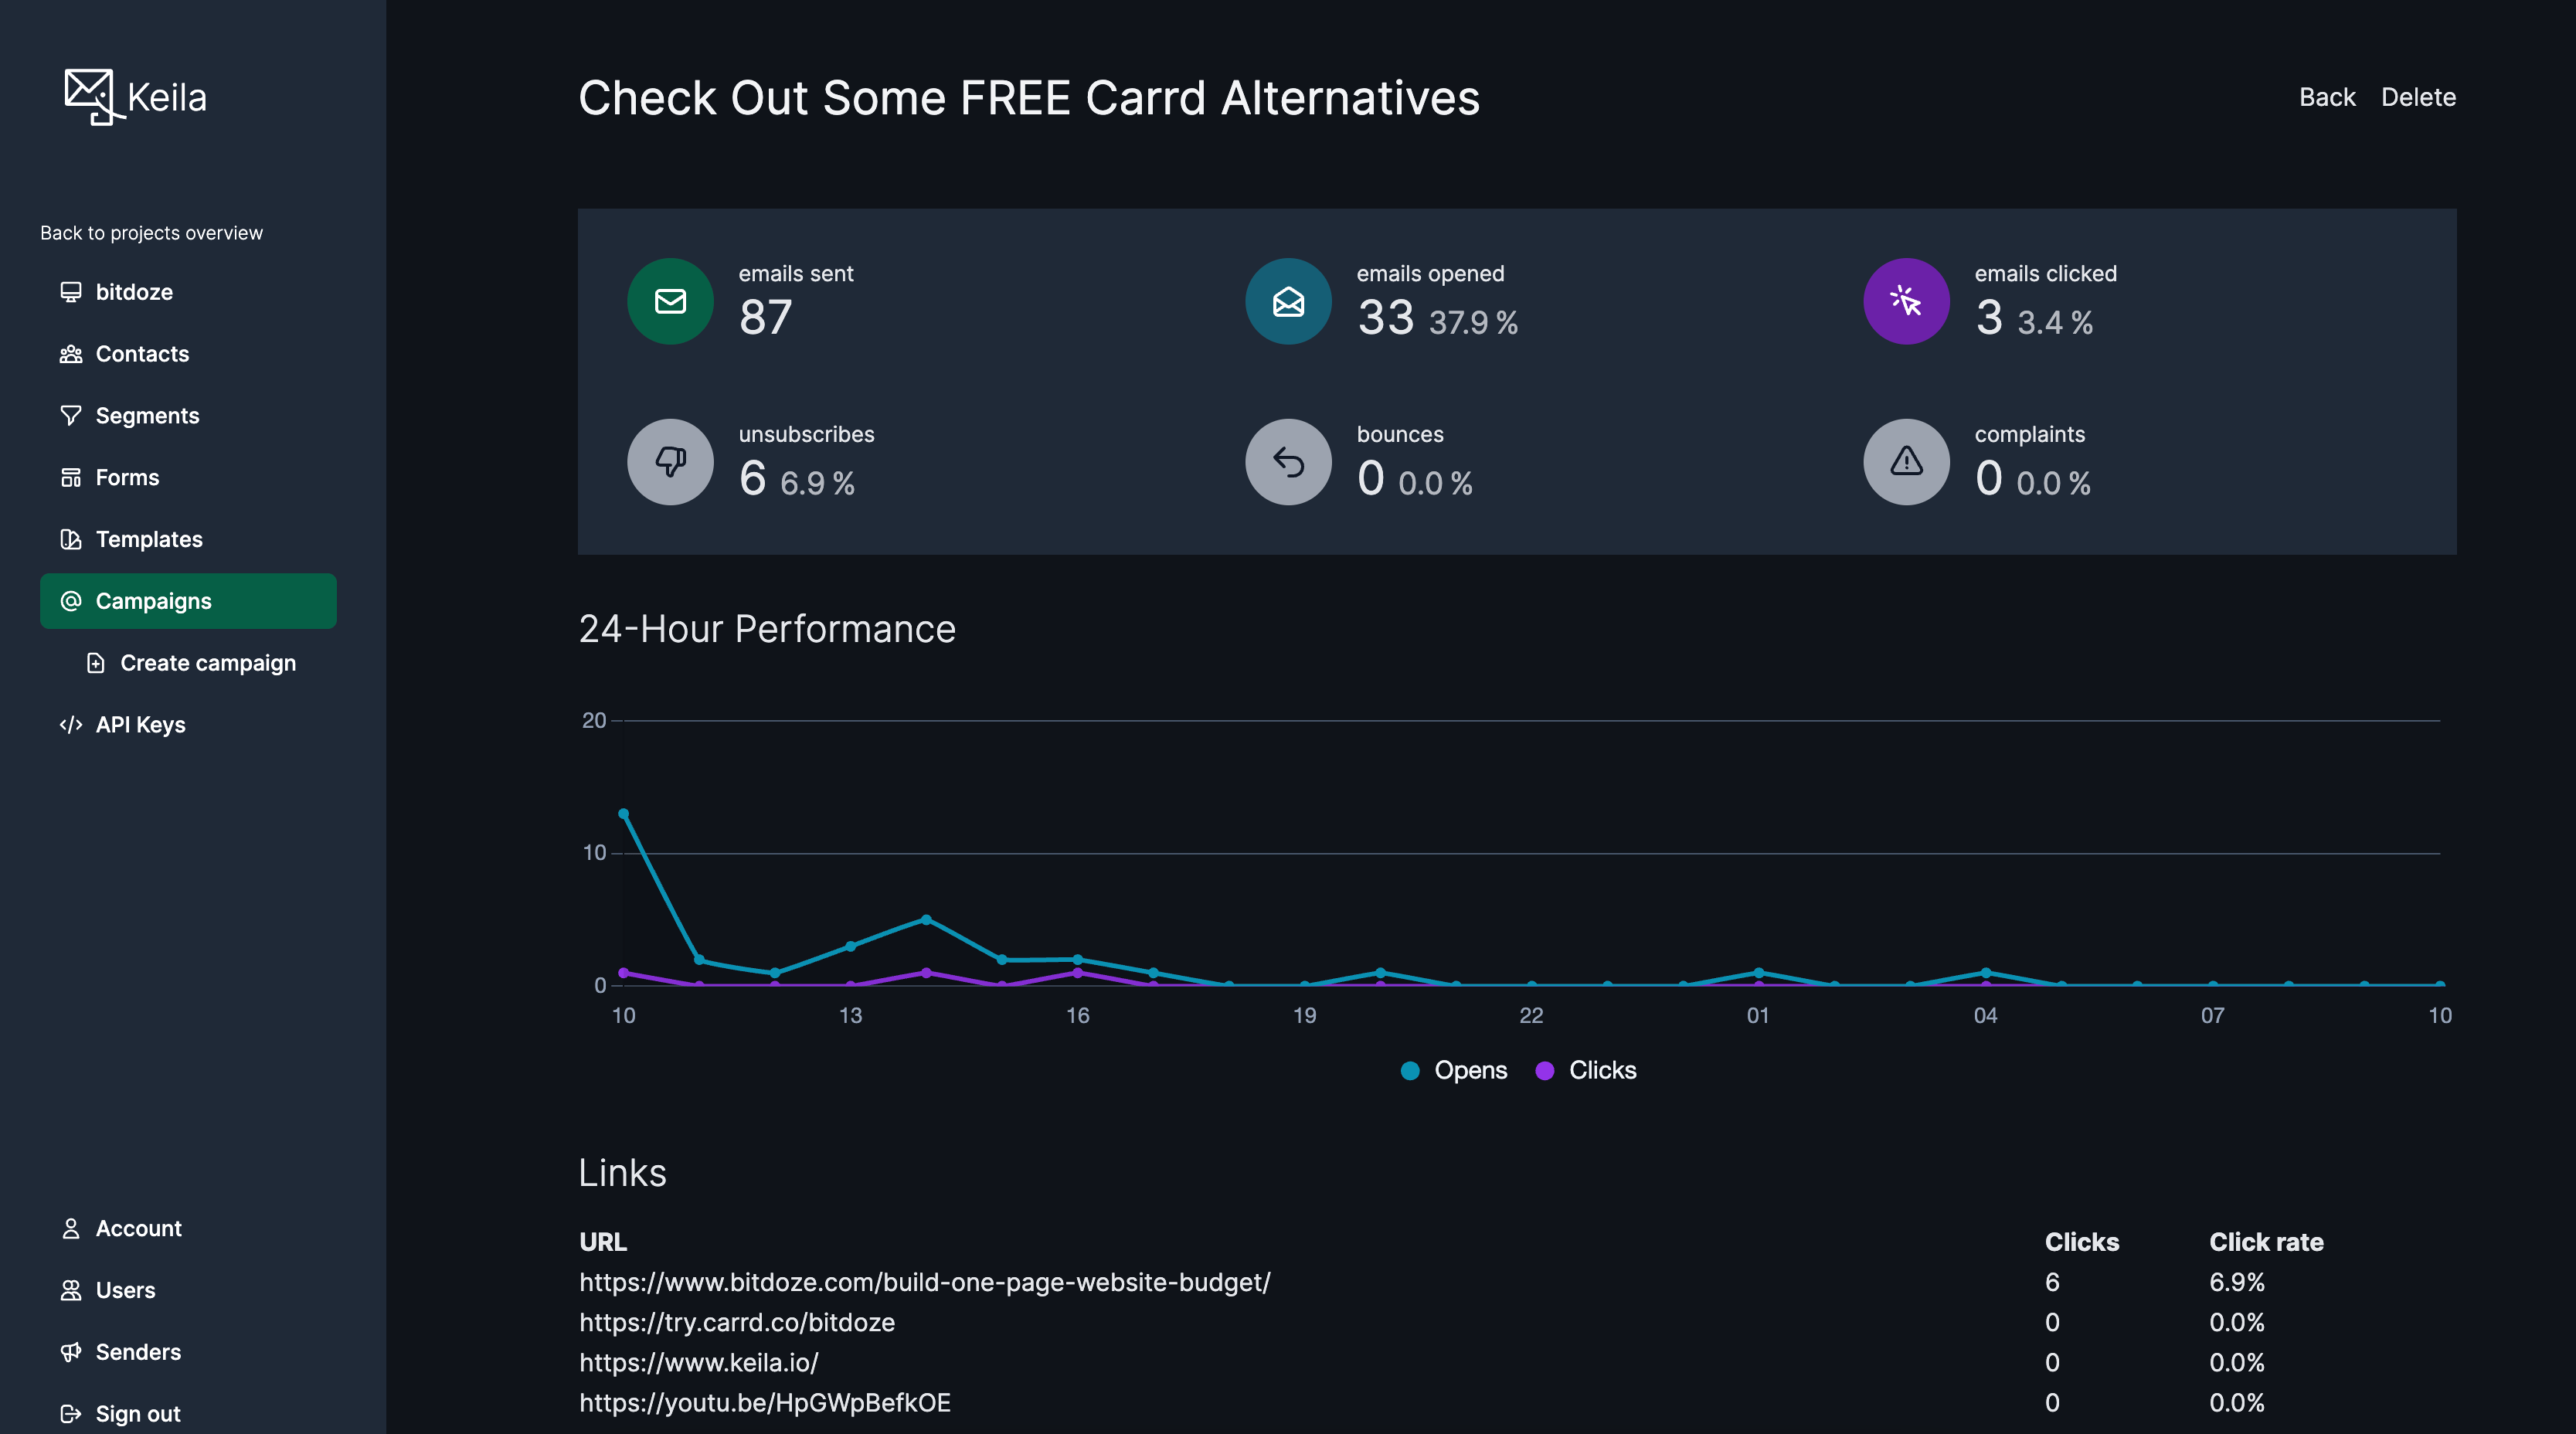
Keila has statistics for your campaigns and after you send one you will have the stats as below:
Conclusion
Keila is a light newsletter alternative that you can self-host easily and start sending emails fast, it has statistics about campaigns sent and can help you manage things easily. With the help of EasyPanel you can host it easily.
Related Posts

Shottr - Best Free Mac Screenshot Tool | CleanShot Alternative
Looking for a free and easy-to-use Mac screenshot tool? Meet Shottr - the best alternative to CleanShot! With Shottr, you can capture, edit, and share screenshots in a snap.

Plausible.io - Google Analytics Lightweight Alternative
Plausible.io self-hosted Google analytics lightweight alternative

Best AI Coding Tools and Assistants in 2025
A comprehensive guide to the most effective AI coding tools and assistants in 2025, including web tools, IDE integrations, and CLI solutions.