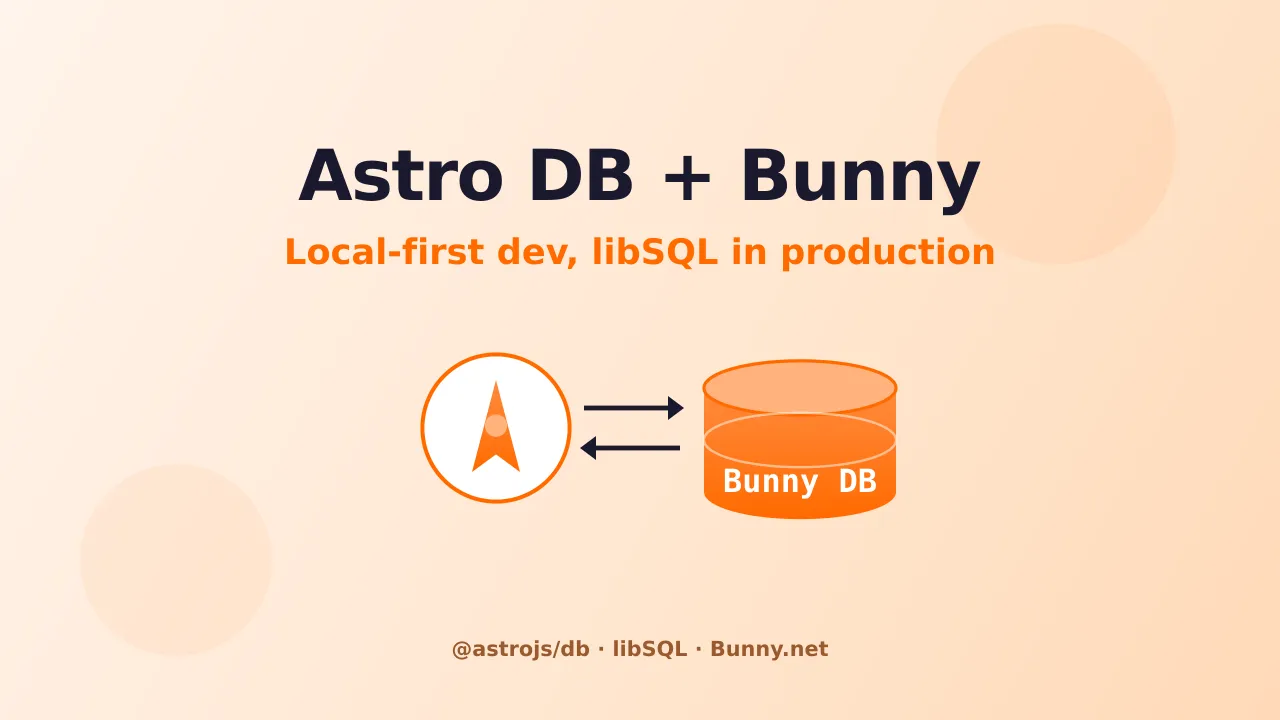
Astro DB with Bunny Database: Local-First Dev, libSQL in Production
Use Astro DB for local-first development and host the production database on Bunny.net's managed libSQL instead of Turso. Schema, seeding, remote push, and deploy, step by step.
Astro DB is one of those features that makes you wonder why every framework doesn’t ship something like it. You define tables in TypeScript, get a local SQLite file for development with zero setup, and query everything through a built-in Drizzle client with full type safety. The catch is that the official docs walk you straight to Turso for the production database, and Turso is the obvious default since they maintain libSQL.
But Astro DB connects to any libSQL server, not just Turso. And Bunny.net now runs a managed libSQL database that gives you the same libsql:// URL and an access token, sits in the EU, idles to zero when nobody’s querying, and bills per usage. So you can keep the whole local-first Astro DB workflow and just point production at Bunny instead. That’s what this guide does.
Try Bunny.net free for 14 days
You’ll need a Bunny account for the production step. Sign up at Bunny.net with no credit card and get a 14-day trial. My full Bunny.net review covers the rest of the platform.
How Astro DB and Bunny fit together
Here’s the mental model, because it confused me at first. Astro DB has two halves:
- Local development:
astro devcreates a SQLite file at.astro/content.db, regenerates your types fromdb/config.ts, and reseeds it fromdb/seed.tson every change. No Docker, no network, no credentials - Production: when you build or run with the
--remoteflag, Astro talks to a real libSQL server defined by two environment variables,ASTRO_DB_REMOTE_URLandASTRO_DB_APP_TOKEN
The docs fill those two variables with Turso values. We’re going to fill them with Bunny values instead. Everything else about Astro DB, the schema, the seed file, the Drizzle queries, stays exactly the same.
Why this works at all
Bunny Database is built on libSQL, the same SQLite fork Turso maintains and the same engine Astro DB uses under the hood. Bunny exposes the libSQL remote protocol, so as far as Astro is concerned it’s just another libSQL endpoint. The pairing isn’t an official Astro integration, it just falls out of both sides speaking libSQL.
Prerequisites
- An existing Astro project, or a fresh one (
npm create astro@latest) - Node.js installed
- A Bunny.net account with access to Bunny Database (currently in public preview)
If you don’t have an Astro site yet, I have a guide on building a free blog with Astro that gets you a working project to add a database to.
Step 1: Install the Astro DB integration
From your project root, let Astro wire everything up:
npx astro add dbThis installs @astrojs/db, adds it to your astro.config.mjs, and creates a starter db/config.ts:
// db/config.ts
import { defineDb } from 'astro:db';

export default defineDb({
  tables: {},
})
Step 2: Define your tables
Tables live in db/config.ts. Astro reads this file to generate a TypeScript interface for each table, which is what gives you autocomplete and compile-time errors when you query.
Here’s a Comment table with an Author it references, the same shape the Astro docs use, so it’s easy to cross-check:
// db/config.ts
import { defineDb, defineTable, column } from 'astro:db';

const Author = defineTable({
  columns: {
    id: column.number({ primaryKey: true }),
    name: column.text(),
  },
});

const Comment = defineTable({
  columns: {
    id: column.number({ primaryKey: true }),
    authorId: column.number({ references: () => Author.columns.id }),
    body: column.text(),
    published: column.date({ default: new Date() }),
  },
});

export default defineDb({
  tables: { Author, Comment },
})
The column types map cleanly onto SQLite: column.text(), column.number(), column.boolean(), column.date() (queried as a JavaScript Date), and column.json() for an untyped blob. The references property on authorId sets up the foreign-key relationship to Author.id.
Step 3: Seed local development data
In development you don’t touch production data. Astro reseeds a fresh local database from db/seed.ts every time the file changes, which keeps your dev environment predictable.
// db/seed.ts
import { db, Author, Comment } from 'astro:db';

export default async function () {
  await db.insert(Author).values([
    { id: 1, name: 'Kasim' },
    { id: 2, name: 'Mina' },
  ]);

  await db.insert(Comment).values([
    { authorId: 1, body: 'Hope you like Astro DB!' },
    { authorId: 2, body: 'Enjoy!' },
  ]);
}
Start the dev server and the table is live locally:
npm run devStep 4: Query the database in a page
You query from any Astro page, endpoint, or action using the db client exported from astro:db. It’s Drizzle under the hood, already configured, no client setup.
---
// src/pages/index.astro
import { db, Comment, Author, eq } from 'astro:db';

const comments = await db
  .select()
  .from(Comment)
  .innerJoin(Author, eq(Comment.authorId, Author.id));
---

<h2>Comments</h2>
{
  comments.map(({ Author, Comment }) => (
    <article>
      <p>Author: {Author.name}</p>
      <p>{Comment.body}</p>
    </article>
  ))
}
All the Drizzle query helpers, eq(), gt(), like(), count(), and the raw sql tag, come straight from astro:db:
import { eq, gt, count, sql } from 'astro:db';At this point everything runs against the local file. Now let’s give it a real home on Bunny.
Step 5: Create your Bunny Database
- Log in to the Bunny.net dashboard
- In the sidebar, click + Add, then Database
- Name it (for example
astro-comments). The name shows up in your connection URL - Pick a deployment mode. Single region is cheapest and fine for most sites, Automatic lets Bunny choose regions for you, and Manual gives you control over primary and replicas
- Click Add Database
Open the database and go to the Access tab. You need two things here:
- Database URL: looks like
libsql://<your-database-id>.lite.bunnydb.net - Access Token: click Generate Tokens and copy the Full Access token (Astro needs write access to push the schema and persist data)
Copy the token now
Bunny shows tokens once. If you lose it, generate a new one, which invalidates the old. Never commit it to git.
Step 6: Point Astro DB at Bunny
This is the only step that’s genuinely Bunny-specific, and it’s just two environment variables. Map the Bunny values onto the variables Astro expects:
| Astro variable | Bunny value |
|---|---|
ASTRO_DB_REMOTE_URL | Your Bunny database URL (libsql://...lite.bunnydb.net) |
ASTRO_DB_APP_TOKEN | Your Full Access token |
Put them in a .env file at the project root:
# .env
ASTRO_DB_REMOTE_URL="libsql://your-database-id.lite.bunnydb.net"
ASTRO_DB_APP_TOKEN="your-full-access-token"
Make sure .env is gitignored. That’s the whole swap. Where the Astro docs say “set this to your Turso URL,” you set it to your Bunny URL.
If the libsql:// scheme gives you trouble
Astro DB accepts libsql:, https:, and wss: schemes. Bunny’s libSQL speaks the remote protocol over HTTPS, so if a libsql:// URL ever fails to connect from a particular runtime, swap the scheme to https:// on the same host (https://your-database-id.lite.bunnydb.net) and keep the same token.
Step 7: Push your schema to Bunny
Your local schema exists only in db/config.ts so far. Push it to the Bunny database with the --remote flag:
npx astro db push --remoteThis creates the Author and Comment tables in Bunny and verifies the change won’t lose existing data. If you make a breaking schema change later and you’re fine wiping production, add --force-reset:
npx astro db push --remote --force-resetTo load real data into the remote database (not just local seed data), run a seed or migration file against it with execute:
npx astro db execute db/seed.ts --remoteStep 8: Build and deploy against Bunny
Locally, dev and build use the local file by default. To make production read from and write to Bunny, add --remote to your build command in package.json:
{
  "scripts": {
    "build": "astro build --remote"
  }
}
You can also pass it directly when you want a remote-connected dev session:
# Build against the Bunny database
astro build --remote

# Develop against the Bunny database
astro dev --remote
Set ASTRO_DB_REMOTE_URL and ASTRO_DB_APP_TOKEN in your deployment platform’s environment too, not just locally. The --remote flag uses the connection during the build and on the server, so both environments need the credentials.
Writes need on-demand rendering
Reading data at build time works with a static site. But to write (accept a comment form, for instance) you need on-demand rendering with an adapter for your host (Node, a VPS, Cloudflare, etc.). A purely static build can read from Bunny at build time but can’t persist new rows at runtime.
Accepting user data: a comment form
Here’s the write path, using an Astro action so you get Zod validation for free. This assumes you’ve added an adapter and enabled on-demand rendering.
// src/actions/index.ts
import { db, Comment } from 'astro:db';
import { defineAction } from 'astro:actions';
import { z } from 'astro/zod';

export const server = {
  addComment: defineAction({
    input: z.object({
      authorId: z.number(),
      body: z.string(),
    }),
    handler: async (input) => {
      const created = await db.insert(Comment).values(input).returning();
      return created;
    },
  }),
};
Because the action runs on the server, your Bunny token never reaches the browser. The insert goes straight to the remote libSQL database and returning() hands back the new row.
Embedded replicas for faster reads
One libSQL feature worth knowing about: embedded replicas. You can keep a synced local copy of the Bunny database for very fast reads, with writes forwarded to Bunny. Astro configures this through query parameters on the remote URL:
# In-memory replica synced from Bunny, refreshing every 60s
ASTRO_DB_REMOTE_URL="memory:?syncUrl=libsql%3A%2F%2Fyour-database-id.lite.bunnydb.net&syncInterval=60"
ASTRO_DB_APP_TOKEN="your-full-access-token"
The syncUrl value must be URL-encoded. This is overkill for a small blog, but if you run a read-heavy site on a single server, it turns most reads into local lookups while Bunny stays the source of truth.
Why pair Astro DB with Bunny instead of Turso
Both are solid. Here’s how I think about the choice:
| Bunny Database | Turso | |
|---|---|---|
| Engine | libSQL | libSQL |
| Works with Astro DB | Yes (set the two env vars) | Yes (official example) |
| Idle billing | Spins down when inactive | Free tier, then usage |
| Same dashboard as CDN/storage | Yes | No |
| Region | EU company (Slovenia) | US-based |
| Status | Public preview | GA |
If you already run your CDN, storage, or video on Bunny, keeping the database in the same dashboard and the same invoice is the obvious win. If you want the most mature, GA libSQL host with the deepest tooling, Turso is still the safe pick. Since both are libSQL, you can move between them later by changing two environment variables and re-pushing the schema, so this isn’t a one-way door.
Troubleshooting
astro db push --remote fails to connect
Check that ASTRO_DB_REMOTE_URL points at your exact Bunny database host and that ASTRO_DB_APP_TOKEN is the Full Access token, not Read Only. If a libsql:// URL won’t connect from your runtime, try the https:// scheme on the same host.
Reads work but writes fail in production
A static build can read at build time but can’t write at runtime. Add an adapter and enable on-demand rendering so your forms and actions can persist data to Bunny.
Local changes don't show up in production
Local dev and build use the local file unless you pass --remote. Push schema changes with astro db push --remote, and make sure your deploy build command includes the --remote flag.
Permission or read-only errors
You’re probably using a Read Only token. Generate a Full Access token in the Bunny database Access tab and update ASTRO_DB_APP_TOKEN everywhere.
Frequently asked questions
Is this an official Astro integration?
No. There’s no Bunny-specific Astro plugin. It works because Astro DB connects to any libSQL server through ASTRO_DB_REMOTE_URL and ASTRO_DB_APP_TOKEN, and Bunny Database is libSQL. You’re using the same remote-database mechanism the docs demonstrate with Turso.
Can I keep developing locally without hitting Bunny?
Yes, and that’s the whole appeal. Day-to-day npm run dev uses the local SQLite file and your seed data. You only touch Bunny when you push the schema or build with --remote. It keeps production data safe while you work.
Does Bunny charge per query?
Bunny Database bills on usage (reads, writes, and storage per active region) and idles when nothing is querying it, so a low-traffic Astro site costs very little. Check the Bunny pricing page for current preview rates.
What if I'd rather use Drizzle directly without Astro DB?
You can. Astro DB wraps Drizzle with a nicer config-and-seed workflow, but if you want raw Drizzle against a libSQL database, I wrote a TanStack Start + Bunny Database + Drizzle guide that uses the @libsql/client and Drizzle directly. Same database, different framework and a more hands-on ORM setup.
Can I move to Turso later, or vice versa?
Yes. Both are libSQL, so switching hosts means changing ASTRO_DB_REMOTE_URL and ASTRO_DB_APP_TOKEN and running astro db push --remote against the new database. You can also dump and import data with the respective CLIs.
Wrapping up
Astro DB gives you a genuinely pleasant local-first workflow: typed tables, instant local SQLite, and a Drizzle client that needs no wiring. The docs steer you to Turso for production, but the remote connection is just libSQL, so pointing it at Bunny is a two-variable change. You get a database that lives in the same dashboard as your CDN and storage, idles to zero when traffic is quiet, and stays portable because it’s plain libSQL underneath.
If your site already runs static on Bunny, this closes the loop: static pages from the CDN, dynamic data from Bunny Database, all on one bill.
Try Bunny.net Free for 14 DaysRelated articles
- Bunny.net review - the full platform after a year in production
- TanStack Start + Bunny Database + Drizzle - the same database with raw Drizzle in a React app
- Deploy an Astro site to Bunny.net - static hosting on Bunny storage and CDN
- Build a free blog with Astro - get a starter project to add a database to
- Bunny Storage vs S3 vs Backblaze - cloud storage pricing compared
- Mount an S3 bucket as a filesystem - ZeroFS and JuiceFS on Bunny Storage