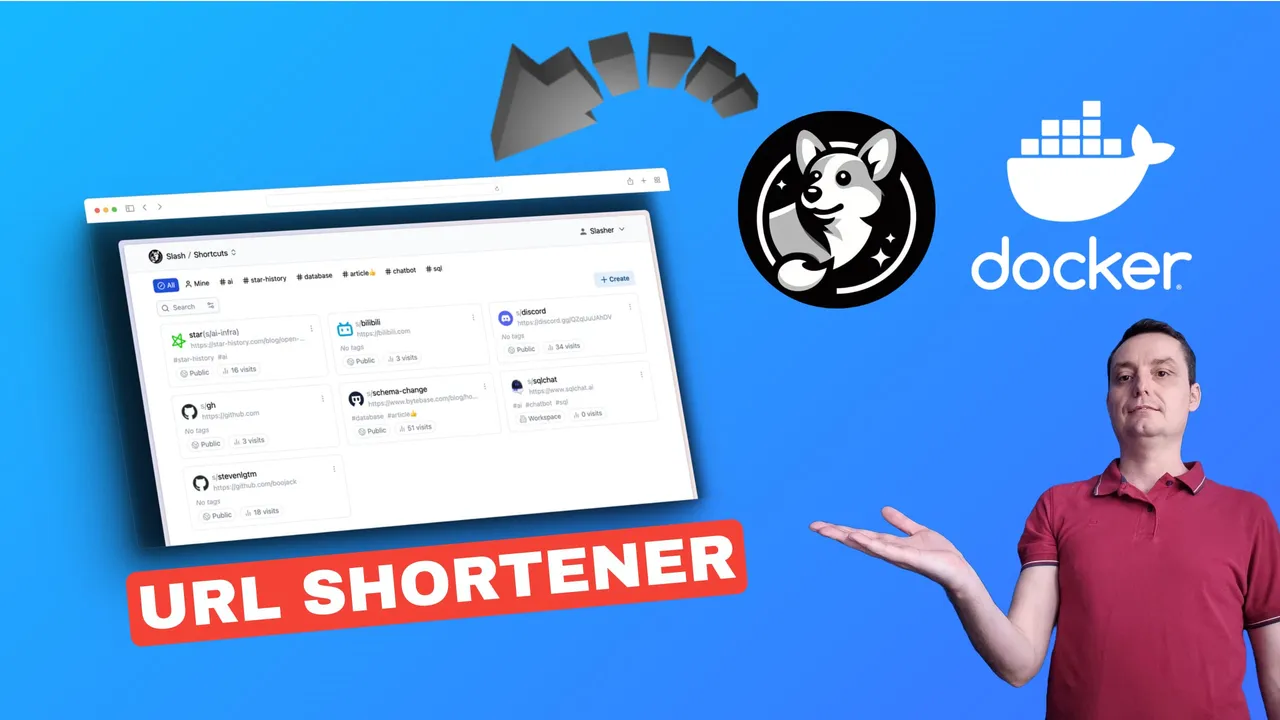
How to Deploy Your Link Shortener with Slash, Docker, and Dockge
Learn how to deploy your link shortener with Slash, Docker, and Dockge, and enjoy the benefits of smart link management and easy application deployment.
Link shortening is the process of transforming a long and complex URL into a shorter and simpler one. Link shortening has several benefits, such as:
- Making links more user-friendly and memorable
- Saving space and characters in social media posts, emails, and messages
- Enhancing the aesthetics and credibility of links
- Hiding the original URL and its parameters from the public
- Redirecting users to different destinations based on their device, location, or time
- Tracking and measuring the clicks, conversions, and engagement of links
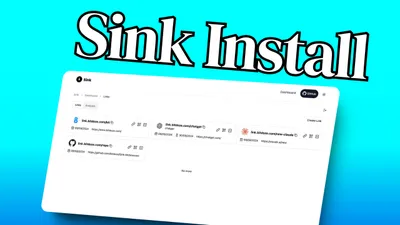
What is Slash
Slash is an open source, self-hosted bookmarks and link sharing platform. It allows users to organize their links with tags and share them with custom shortened URLs. The platform provides features such as the ability to customize short links with chosen paths, view analytics on short links, and customize social sharing metadata. It is a lightweight and open source solution, making it suitable for those looking to self-host their bookmark and link sharing services. The platform is built with Go and SQLite, and it offers a live demo for users to explore its features.

Some of its key features include:
- Custom Shortened URLs: Users can customize their short links
s/link-urlwith chosen paths, allowing for personalized and branded short URLs. - Analytics: Slash provides the ability to view analytics on short links, including referrers, browsers, and operating systems, enabling users to gain insights into link performance.
- Social Sharing Metadata Customization: Users can customize social sharing metadata, including images, titles, and descriptions, enhancing the presentation of shared links on social media platforms.
- Team Sharing: Slash supports team sharing of link libraries, facilitating easy collaboration and sharing of resources within a team or organization.
- Open Source and Lightweight: Being open source and built with React.js, Slash is a lightweight solution that allows for easy self-hosting and customization.
These features make Slash a versatile and user-friendly platform for organizing, sharing, and managing bookmarks and links, particularly for those seeking a self-hosted solution with advanced customization and analytics capabilities.
Slash offers extensions for both Chrome and Firefox, providing convenient ways to access its features. Here are the details about the extensions and how they can be beneficial:
- Overview: The Slash Chrome /Firefox extension is available on the Chrome Web Store and Firefox. It allows users to organize their links with tags, share them with custom shortened URLs, and access the platform’s features directly from the browser.
- Features: The extension enables users to save and share links easily, customize short URLs, and benefit from the platform’s self-hosted bookmarks and link sharing capabilities

Both extensions provide a streamlined way to interact with the Slash platform, offering users the flexibility to utilize its features within their preferred web browser. These extensions are valuable for users who want to integrate Slash’s bookmark and link sharing capabilities directly into their browsing experience, whether they use Chrome or Firefox.
If you are interested to see some free cool open source self hosted apps you can check toolhunt.net self hosted section.
How You Deploy Slash with Docker and Dockge
1. Prerequisites
Before you begin, make sure you have the following prerequisites in place:
- VPS where you can host Slash, you can use one from Hetzner, Hostinger or use a Mini PC as Home Server
- Docker and Dockge installed on your server, you can check the Dockge - Portainer Alternative for Docker Management for the full tutorial.
- CloudFlare Tunnels configured for your VPS server, the details are in the article here I deployed Dockge
You can use also Traefik as a reverse proxy for your apps. I have created a full tutorial with Dockge install also to manage your containers on: How to Use Traefik as A Reverse Proxy in Docker
Having all of this you will be ready to move to next step and add the container in dockge.
2. Add the Docker Compose file in Dockge
Below is the docker-container code for slash that you need to add in Dockge:
version: "3"
services:
  slash:
    image: yourselfhosted/slash:latest
    container_name: slash
    ports:
      - 5006:5231
    volumes:
      - ./slash:/var/opt/slash
    restart: unless-stopped
The above code will pull the latest slash image and create a volume in the local path where dockge stack is located, you can choose the 5006 port with the port you like.
In dockge just hit compose and save. After as in the picture below, you can choose the dockge-default external network:

After you hit save and start the container, it should start running without issues.
3. Configure the CloudFlare Tunnels
You need to let CloudFlare Tunel to know which port is using, you just need to go in the Access - Tunnels and choose the tunnel you created and add a hostname that will link a domain or subdomain and the service and port like in below picture:

You can also check Setup CloudPanel as Reverse Proxy with Docker and Dokge to use CloudPanel as a reverse proxy to your Docker containers or How to Use Traefik as A Reverse Proxy in Docker.
You should add your Server IP and the port you have chosen.
4. Access Slash and Add your Links and Collections
Now what remains to be done is to access slash with the domain that was set into CloudFlare and start adding your links and collections, the interface looks like below. First, you will be asked to create an account.

Conclusion
In conclusion, deploying your link shortener with Slash, Docker, and Dockge offers a practical solution for smart link management and easy application deployment. By leveraging the power of these platforms, you can optimize your workflow and improve your online presence with ease.