How to Install Memos with Docker Compose: EASY STEPS!
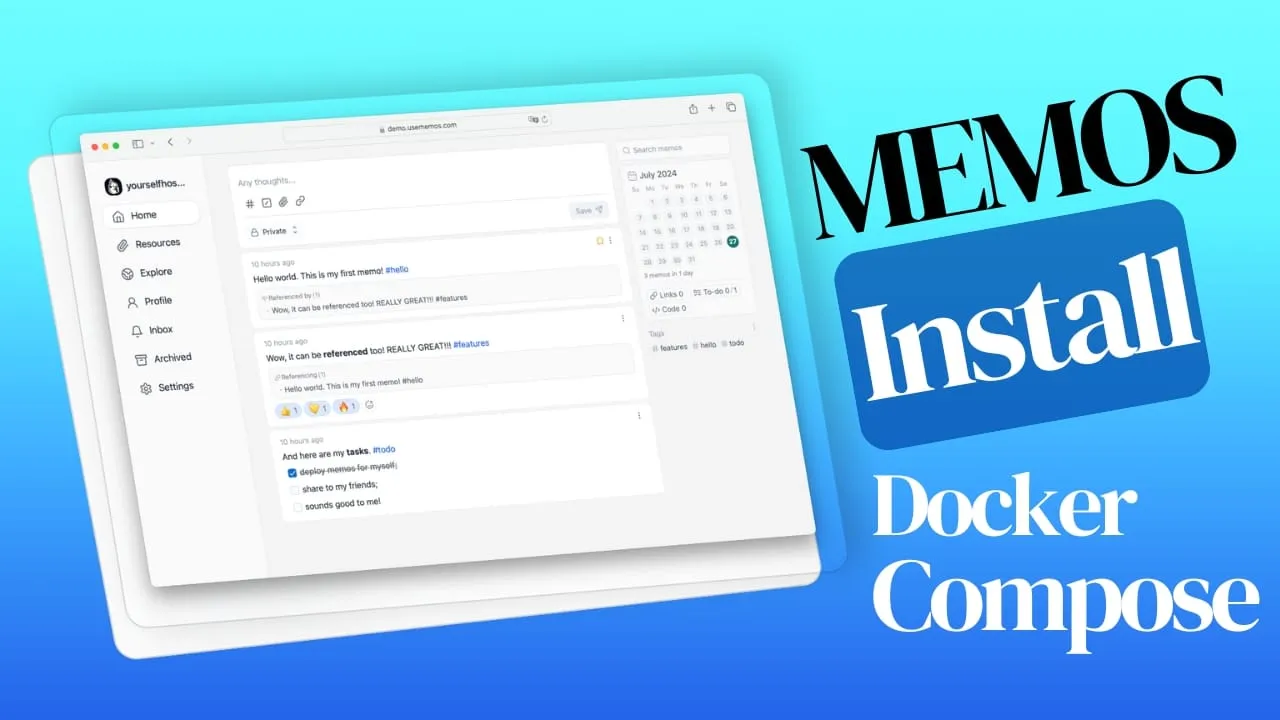
Learn how you can Memos note taking app with docker compose and Postgres DB and take advantage of a self hosted note taking app

Memos is a self-hosted note-taking application designed for personal organization and information management. It allows users to create, store, and manage notes efficiently, providing features like markdown support, a user-friendly interface, and privacy-focused design. Memos can be run on various platforms, but using Docker Compose simplifies the deployment process, making it easy to set up and maintain.
-
Privacy-First Approach: Memos ensures that all user data is kept private and secure, allowing users to retain control over their information.
-
Markdown Support: Users can create notes using plain text with extensive Markdown syntax, facilitating easy formatting and organization.
-
Lightweight Architecture: Built with Go and React.js, Memos is designed to be lightweight, ensuring fast performance and minimal resource usage.
-
Customizable Features: Users can personalize their experience by customizing the server name, icon, description, and system styles.
-
Open Source: Memos is completely open source, allowing users to contribute to its development and customize the application as needed.
-
Free to Use: All features of Memos are available at no cost, with no hidden charges or subscriptions.
-
Data Persistence: Notes are saved in a SQLite database file, ensuring data is retained even after the application is closed.
-
User-Friendly Interface: Memos offers an intuitive interface that makes it easy to capture and manage notes.
-
Multi-Device Accessibility: Users can access their notes from various devices, enhancing convenience and flexibility.
-
Collaboration Features: Memos allows for easy sharing of notes, enabling collaboration among users.
If you are looking for a more complex app for your note taking needs you can check:
Install Memos with Docker Compose
To install Memos using Docker Compose, you need to create a docker-compose.yml file that defines the services, networks, and volumes necessary for running the application. Below are two configurations for deploying Memos: one using SQLite and another using PostgreSQL.
In case you are interested to monitor server resources like CPU, memory, disk space you can check: How To Monitor Server and Docker Resources
1 Prerequizites
Before you begin, make sure you have the following prerequisites in place:
- VPS where you can host Memos, you can use one from Hetzner You can use a VPS to have Memos installed but performances will not be that good. In our test we are using a 8 CPUs 16 GB RAM and is bearly moving or use a Mini PC as Home Server
- Traefic with Docker set up, you can check: How to Use Traefik as A Reverse Proxy in Docker or Traefik FREE Let’s Encrypt Wildcard Certificate With CloudFlare Provider
- Docker and Dockge installed on your server, you can check the Dockge - Portainer Alternative for Docker Management for the full tutorial.
2 Memos with SQLite
The following docker-compose.yml file sets up Memos with SQLite as the database:
services:
  memos:
    image: neosmemo/memos:stable
    container_name: memos
    user: root
    restart: unless-stopped
    networks:
      - traefik-net
    volumes:
      - ./memos/:/var/opt/memos
    labels:
      - traefik.enable=true
      - traefik.http.routers.memos.rule=Host(`memos.domain.com`)
      - traefik.http.routers.memos.entrypoints=https
      - traefik.http.services.memos.loadbalancer.server.port=5230

networks:
  traefik-net:
    external: true
Explanation of the Configuration:
-
services: This section defines the services that Docker will run. Here, we have a single service named
memos. -
image: Specifies the Docker image to use, in this case,
neosmemo/memos:stable. -
container_name: Assigns a name to the container for easier management.
-
user: Runs the container as the root user.
-
restart: Configures the restart policy.
unless-stoppedmeans the container will restart unless explicitly stopped. -
networks: Connects the service to an external network named
traefik-net, which is useful for routing. -
volumes: Maps a local directory (
./memos/) to the container’s data storage directory (/var/opt/memos), ensuring data persistence. -
labels: These are used for configuring Traefik, a reverse proxy, to route traffic to the Memos service based on the specified hostname and entry points.
This is the easiest way to have memos installed. You can expose also the port in case you want to use ClaudFlare tunnels or other reverse proxy or direct access with:
ports:
  - 5230:5230
3 Memos with PostgreSQL DB
If you prefer to use PostgreSQL as the database, you can use the following configuration. This is for cases when you have a lot off notes to have a powerfull database. This are the memos DB options with the doc.
services:
  memos:
    image: neosmemo/memos:stable
    container_name: memos
    restart: unless-stopped
    networks:
      - traefik-net
    depends_on:
      memos-db:
        condition: service_healthy
    volumes:
      - ./memos/:/var/opt/memos
    environment:
      MEMOS_DRIVER: postgres
      MEMOS_DSN: postgresql://${POSTGRES_USER}:${POSTGRES_PASSWORD}@memos-db:5432/${POSTGRES_DB}?sslmode=disable
    labels:
      - traefik.enable=true
      - traefik.http.routers.memos.rule=Host(`memos.domain.com`)
      - traefik.http.routers.memos.entrypoints=https
      - traefik.http.services.memos.loadbalancer.server.port=5230
  memos-db:
    image: postgres:16.1-alpine
    networks:
      - traefik-net
    healthcheck:
      test:
        - CMD-SHELL
        - pg_isready -U ${POSTGRES_USER} -d ${POSTGRES_DB}
      interval: 5s
      timeout: 5s
      retries: 5
    volumes:
      - ./memos-db:/var/lib/postgresql/data:rw
    environment:
      POSTGRES_DB: ${POSTGRES_DB}
      POSTGRES_USER: ${POSTGRES_USER}
      POSTGRES_PASSWORD: ${POSTGRES_PASSWORD}
    restart: on-failure:5
networks:
  traefik-net:
    external: true
Explanation of the Configuration:
-
The
memosservice is similar to the SQLite configuration but includes environment variables for PostgreSQL. -
depends_on: Ensures that the
memos-dbservice starts before thememosservice. -
environment: Sets environment variables for the PostgreSQL connection, including the database name, user, and password.
-
The
memos-dbservice runs a PostgreSQL database, with a health check to ensure it is ready before the Memos service starts.
4 Create an .env File
For the PostgreSQL configuration, create a .env file in the same directory as your docker-compose.yml file to define the environment variables:
POSTGRES_DB=memos
POSTGRES_USER=memos
POSTGRES_PASSWORD=memos
You can change the details as you like for the database details.
5 Start the Docker Compose File
To start the Memos application, run the following command in your terminal from the directory containing the docker-compose.yml file:
docker compose up -dThis command will download the necessary Docker images, create the containers, and start the services in detached mode.
6 Access Memos UI and Create Your First User
Once the containers are running, you can access the Memos web interface by navigating to http://memos.domain.com in your web browser. You will be greeted by a sign-up screen where you can create your first user account.
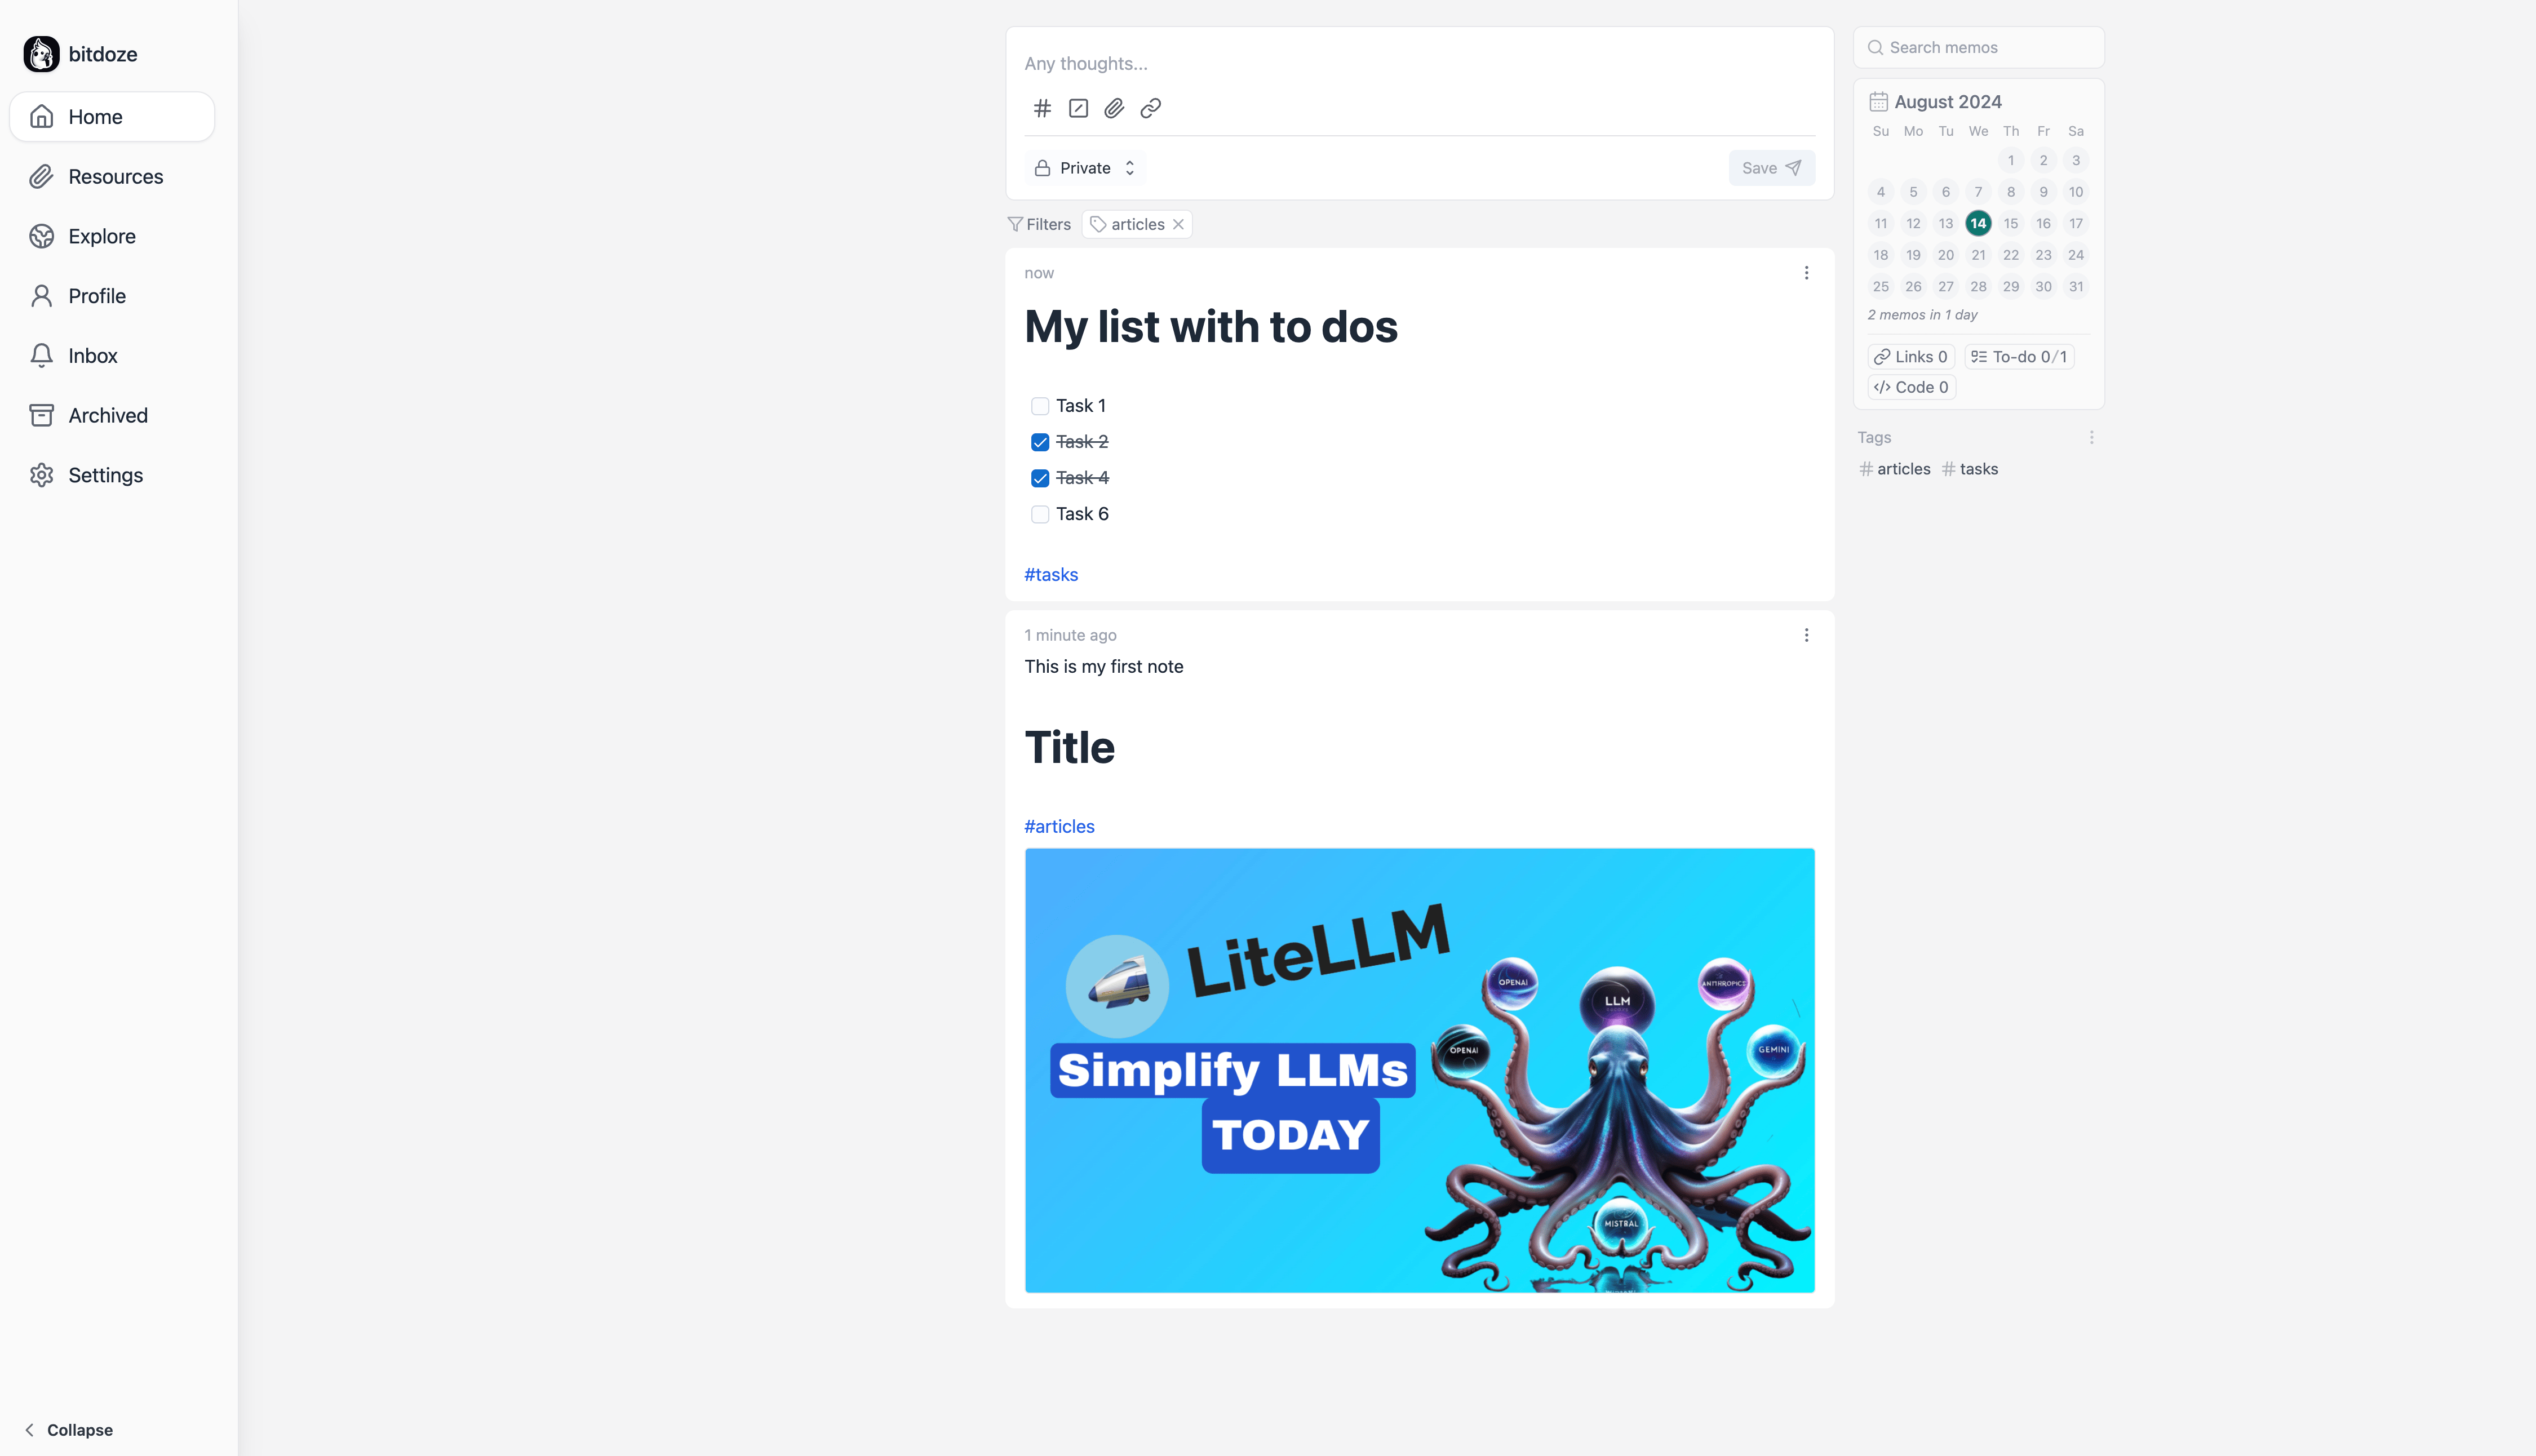
Then the memos UI will be like this:

Then you have the settings area where you can change the look frok light to dark, add users or enable SSO.

Conclusions
If you are interested to see some free cool open source self hosted apps you can check toolhunt.net self hosted section.
Setting up Memos using Docker Compose provides a straightforward way to deploy a self-hosted note-taking application. By using either SQLite or PostgreSQL, users can choose the database that best fits their needs. The configurations provided allow for easy customization and scalability, making Memos a flexible solution for personal organization and note management. Enjoy using Memos to capture and organize your thoughts efficiently!
If you’re interested in exploring more Docker containers for your home server or self-hosted setup, including other productivity tools and applications, check out our comprehensive guide on Best 100+ Docker Containers for Home Server. This resource provides a wealth of options for various applications and services you can run using Docker, helping you build a powerful and versatile self-hosted environment that can complement your Memos installation and enhance your overall productivity ecosystem.
Related Posts

Simplify File Management with Docker Filebrowser: Easy Setup Guide
Learn how you can install Filebrowser with the help of Docker and docker compose to manage your server files with a UI

Self-Hosted Server Panels: A Comparison of the Best Options Available
Check out this best self-hosted server panel alternatives to host your project and keep control.

How to Install LangFlow with Docker Compose and Add SSL Over CloudFlare Tunnels
Learn how you can install LangFlow with docker compose and Postgres DB and take advantage of no-code AI flows. Add SSL over CloudFlare tunnels