Dokploy Install: Self-Host Your SaaS, Ditch Vercel & Heroku
Dokploy install guide for a VPS: harden SSH, add CrowdSec and swap, then deploy your first apps on this free, open-source Vercel and Heroku alternative.

Updated Published 24 min read
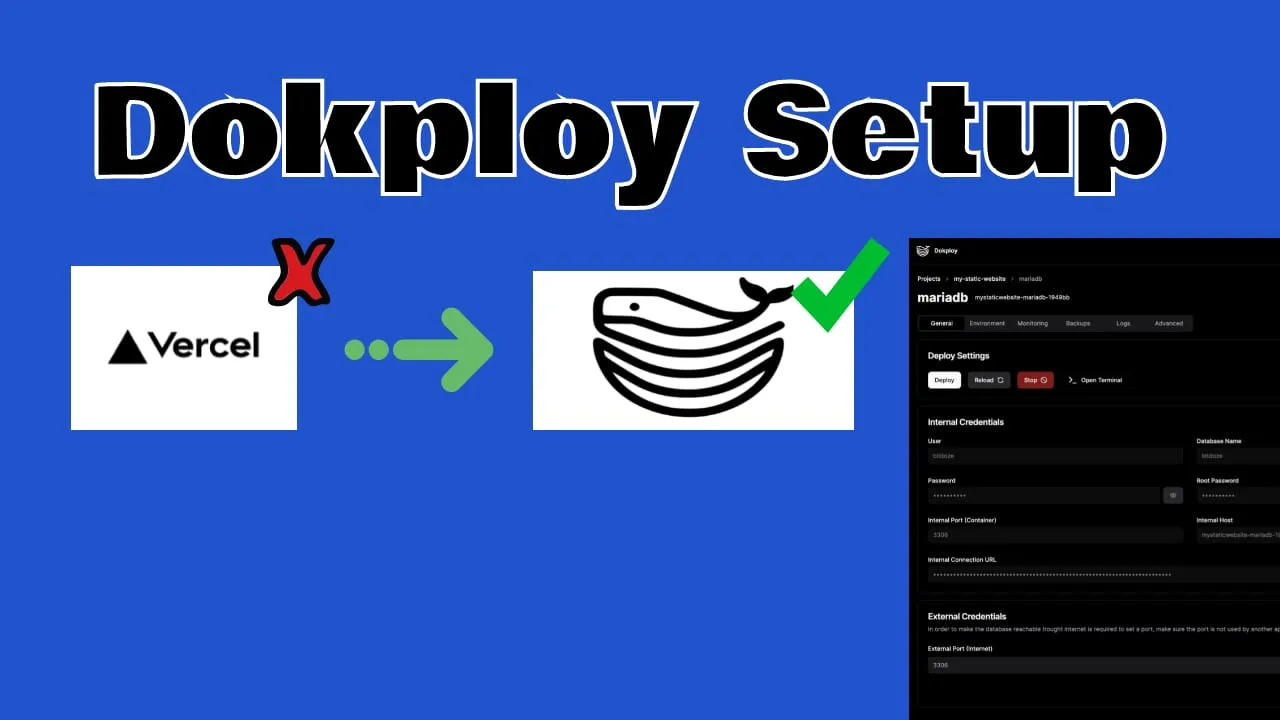
Dokploy is a free, open-source, self-hosted PaaS that replaces Vercel, Heroku and Netlify on your own server. This Dokploy install guide walks the whole path on a Hetzner or Hostinger VPS: hardening SSH, adding swap, blocking brute-force attacks with CrowdSec, running the install script, pointing a domain at Traefik, then deploying your first app and database.
You keep the data and you set the bill; in exchange you own the patching, the backups and the pager.
What you'll have at the end
A hardened Ubuntu VPS running Dokploy with Docker Swarm, Traefik and Let’s Encrypt TLS, one deployed app and one database. Budget about 30 minutes of work.
Cost order of magnitude: a 2 vCPU / 4 GB VPS is single-digit euros per month at Hetzner or Hostinger. Verify current pricing before quoting it.
Want free open source apps to run on top of it? Browse the self hosted section on toolhunt.net.
What you need before the Dokploy install
The install script installs Docker, takes over ports 80 and 443, and refuses to start if anything else is already listening on 80, 443 or 3000. It wants a clean box.
- A fresh VPS with 2 vCPU / 4 GB RAM and 30 GB+ of disk
- Ubuntu 22.04 or 24.04 LTS, or Debian 12, as the server image
- Root SSH key access to the box
- Nothing else holding ports 80, 443 or 3000
- A domain or subdomain you can add DNS records to
- About 30 minutes
Don't install this on a server that already hosts something
The script installs Docker, initialises Swarm, runs Traefik and claims ports 80 and 443. If Nginx, Apache, CyberPanel or Plesk is already serving sites there, you will break them. It does check for busy ports 80, 443 and 3000 and exits before changing anything, but that check is not a migration plan. Use a fresh VPS instead of trying it on a live one.
Cost and resources
Dokploy’s docs ask for 2 GB RAM and 30 GB of disk as the minimum. That is a floor, not a target: the panel plus one small app fits, but add PostgreSQL on top and the box starts swapping. For a database and a couple of apps, take 4 GB and 40 GB+ of disk.
Dokploy Features: A Free Vercel & Heroku Alternative
Dokploy covers the pieces you would otherwise wire up by hand:
- Applications in Node.js, PHP, Python, Go, Ruby or static sites, plus anything with a Dockerfile, deployed from GitHub, GitLab, Gitea or a raw image.
- Docker Compose stacks. Paste a compose file and Dokploy runs it. See how to deploy a Docker Compose app in Dokploy.
- Managed PostgreSQL, MySQL, MariaDB, MongoDB and Redis, with scheduled backups.
- Traefik routing and TLS: attach a domain in the panel and Traefik routes to the container and requests a Let’s Encrypt certificate.
- Per-service monitoring of CPU, memory, disk and network. For more, monitor your server and uptime like a pro with Beszel and Uptime Kuma.
- Scheduled backups of databases and volumes to S3-compatible storage. Dokploy backups with Cloudflare R2 covers the R2 setup.
- Multi-node deploys: add servers and scale services with Docker Swarm.
- One-click templates for n8n, Uptime Kuma, Plausible and similar apps.
What Dokploy is not. It’s a single-panel PaaS on your VPS, not a global edge network: no CDN in front of every request, no preview deploy per pull request, no managed SLA, and one VPS is one failure domain. If you need static assets served worldwide, add a CDN on purpose. Bunny.net is the cheapest option I use for that. Once you stack compose files, updating Docker Compose stacks in Dokploy becomes part of your week. Still choosing a tool? Coolify is the other free Heroku and Netlify alternative.
Dokploy Install on a VPS: Step-by-Step Guide
Video: Dokploy install walkthrough
Older Video
The second walkthrough predates the current panel UI, so a few menus moved. The written steps below are canonical.
Setup a VPS for Dokploy (Hetzner & Hostinger)
Pick a region near your users, choose a plan without a hosting panel, and add your SSH public key at creation instead of a root password.
Hetzner €20 Free Hostinger VPSVPS prices jumped across the board in 2026 — if you’re rethinking a rented box, see what changed and when a mini PC wins.
I default to Hetzner for price and API, and Hostinger for a panel-free KVM box with NVMe outside the EU. If you need more locations, Vultr works the same way. The Hetzner Cloud review covers account setup, and monitoring server and Docker resources is worth bookmarking.
ssh root@your_vps_ip
lsb_release -a
If that shows anything other than Ubuntu 22.04/24.04 LTS or Debian, rebuild the VPS now.
Update system packages
sudo apt update && sudo apt upgrade -y
apt list --upgradable
Ideally nothing is left upgradable. If a kernel upgrade landed, reboot now — doing it mid-install means restarting Swarm and Traefik later.
sudo rebootCreate a sudo user for SSH access
# Create new user
adduser dragos

# Add the user to the sudo group
usermod -aG sudo dragos
Use one name and keep it consistent in every command below.
Configure passwordless sudo
# Add dragos to sudoers with NOPASSWD
echo "dragos ALL=(ALL) NOPASSWD:ALL" | sudo tee /etc/sudoers.d/dragos

# Set proper permissions on the sudoers file
sudo chmod 0440 /etc/sudoers.d/dragos
A malformed sudoers file locks you out of sudo entirely, so verify it parses:
sudo visudo -cNOPASSWD is fine on a single-tenant VPS where keys are the only way in. On a shared box it turns one compromised app user into instant root.
Copy the SSH key from root to the new user
# Create .ssh directory for the new user
mkdir -p /home/dragos/.ssh

# Copy the authorized keys
cp /root/.ssh/authorized_keys /home/dragos/.ssh/

# Set proper ownership and permissions
chown -R dragos:dragos /home/dragos/.ssh
chmod 700 /home/dragos/.ssh
chmod 600 /home/dragos/.ssh/authorized_keys
Wrong ownership here gives you nothing but Permission denied (publickey) on the client, so check:
ls -la /home/dragos/.sshdrwx------ on the directory, -rw------- on authorized_keys.
Test the SSH connection with the new user
Open a new terminal window and keep your root session open:
ssh dragos@your_vps_ip
sudo whoami
Do not close your root session until this passes
sudo whoami must return root. That’s the gate for everything after it. Disable root login early and your only way back in is the provider’s rescue console.
Disable root SSH access
sudo nano /etc/ssh/sshd_configSet:
PermitRootLogin noOr allow root only from a known IP if you need it for a second Dokploy node:
Match User root
    PermitRootLogin yes
    AllowUsers root@<ip-address>
Save (Ctrl+X, then Y, then Enter), check the config, restart SSH:
sudo sshd -t
sudo systemctl restart ssh
If systemctl says the unit doesn’t exist, it’s sshd on that image. Then open a third terminal and confirm ssh dragos@your_vps_ip still works. If it doesn’t, use your still-open root session to set PermitRootLogin yes and re-check the key permissions. The full SSH server hardening guide covers the rest.
Limit the SSH session timeout
Add to /etc/ssh/sshd_config:
ClientAliveInterval 900
ClientAliveCountMax 0
Then sudo systemctl restart ssh. This drops idle sessions after 15 minutes. ClientAliveCountMax 0 kills them hard, so a long apt upgrade over flaky wifi dies mid-flight — use 3 in that case.
Add swap to your VPS
Swap is what stops a memory spike OOM-killing your database:
sudo fallocate -l 2G /swapfile
sudo chmod 600 /swapfile
sudo mkswap /swapfile
sudo swapon /swapfile
echo '/swapfile none swap sw 0 0' | sudo tee -a /etc/fstab
Size it near RAM: 2 GB for a 4 GB box, more if the box is smaller. Keep it a net, not a crutch:
echo 'vm.swappiness=10' | sudo tee /etc/sysctl.d/99-swappiness.conf
sudo sysctl --system
free -h
swapon --show
Then reboot once while the box is still disposable — if /etc/fstab is wrong you want to find out now. Already swapping? Find out which processes are using your swap before blaming the app.
Secure Your Server with CrowdSec
CrowdSec blocks brute-force attacks, port scans and repeat offenders, and it protects SSH out of the box. The concepts are in how to secure a VPS server with CrowdSec.
Install CrowdSec
curl -s https://install.crowdsec.net | sudo sh
sudo apt update && sudo apt install crowdsec
Install Firewall Bouncer with iptables
sudo apt install crowdsec-firewall-bouncer-iptables -y
sudo iptables -L
You should see CROWDSEC_CHAIN created and active:
Chain INPUT (policy ACCEPT)
target     prot opt source               destination
CROWDSEC_CHAIN  all  --  anywhere             anywhere

Chain CROWDSEC_CHAIN (1 references)
target     prot opt source               destination
DROP       all  --  anywhere             anywhere             match-set crowdsec-blacklists src
Configure Firewall Rules
Allow only what the server serves:
# Allow established connections
sudo iptables -A INPUT -m conntrack --ctstate ESTABLISHED,RELATED -j ACCEPT

# Allow loopback
sudo iptables -A INPUT -i lo -j ACCEPT

# Allow SSH (port 22)
sudo iptables -A INPUT -p tcp --dport 22 -j ACCEPT

# Allow HTTP (port 80)
sudo iptables -A INPUT -p tcp --dport 80 -j ACCEPT

# Allow HTTPS (port 443)
sudo iptables -A INPUT -p tcp --dport 443 -j ACCEPT

# Allow Dokploy (port 3000)
sudo iptables -A INPUT -p tcp --dport 3000 -j ACCEPT

# Drop all other incoming traffic
sudo iptables -P INPUT DROP
-P INPUT DROP sets the default policy instead of appending a DROP rule, so CrowdSec’s chain keeps its position and evaluates traffic first.
Read this before you set the DROP policy
iptables -P INPUT DROP over SSH cuts you off if the ACCEPT rules are missing or get wiped by a netfilter-persistent reload. Keep a root session open, and know where your provider’s out-of-band console lives before you need it. Recovery: iptables -P INPUT ACCEPT, re-add the rules, netfilter-persistent save.
Honest caveat: Docker rewrites iptables chains on start and restart, and published container ports can bypass host INPUT rules on some setups. Treat these rules as protecting the host, and filter container traffic with the DOCKER-USER chain or at the app level.
Make Firewall Rules Persistent
sudo apt install iptables-persistent -yAnswer Yes to saving current IPv4 and IPv6 rules, then:
sudo netfilter-persistent saveAfter any later change: sudo netfilter-persistent save && sudo netfilter-persistent reload.
Verify CrowdSec Installation
# Check CrowdSec status
sudo systemctl status crowdsec

# List active collections (should include crowdsecurity/sshd)
sudo cscli collections list

# Verify the firewall bouncer is active
sudo cscli bouncers list
The crowdsecurity/sshd collection installs automatically. Come back after a day and check the other half of the story:
sudo cscli decisions list
sudo iptables -L CROWDSEC_CHAIN -n -v
Bans in the first command, packet counts in the second. A bouncer that’s active with zero decisions after a week usually means your SSH port isn’t the one being scanned, or your provider filters upstream.
Test CrowdSec Protection
# View CrowdSec managed rules
sudo iptables -L CROWDSEC_CHAIN -n -v

# View all firewall rules
sudo iptables -L -n -v
When CrowdSec blocks an IP, it appears in these chains.
Useful CrowdSec Commands
# View active blocks/bans
sudo cscli decisions list

# Check recent security alerts
sudo cscli alerts list

# View security metrics
sudo cscli metrics

# Monitor logs in real-time
sudo tail -f /var/log/crowdsec.log
Install Dokploy on Ubuntu (Docker & Traefik)
Box updated, user hardened, swap on, CrowdSec watching. The install is one command:
curl -sSL https://dokploy.com/install.sh | shThe script installs Docker and initialises Swarm, deploys Traefik as the reverse proxy for everything you deploy later, and starts the panel on port 3000. Packaging has changed between releases, so verify against your own box:
docker ps
curl -I http://localhost:3000
docker ps should show the Dokploy container and Traefik (if your release ships a systemd unit instead, systemctl status dokploy). Any HTTP response from curl -I proves the panel is listening. Then open http://your_vps_ip:3000 for the first-run setup screen.
When it fails, it fails one of these ways:
curl: command not found—apt install -y curlon minimal images.- The script refuses your OS release — rebuild with Ubuntu LTS; don’t hack the check.
- Port 3000 in use —
ss -tulpn | grep 3000, then stop that service or start clean. - 80/443 held by Nginx, Apache or a panel —
systemctl stop nginxis a hop, not a fix. - Out of disk —
df -h. - Aborted halfway, Swarm up but no panel — re-run the same command; it’s re-runnable. Verify with
docker ps.
Point Your Domain or Subdomain to Dokploy
Give the panel a name and your apps a wildcard, so the next ten deployments need no DNS edit.
- A record for the panel —
dokploy.yourdomain.com→ VPS IPv4. - Wildcard A record for apps —
*.apps.yourdomain.com→ same IP.
Type: A
Name: dokploy
Value: your_vps_ip
TTL: 3600

Type: A
Name: *.apps
Value: your_vps_ip
TTL: 3600
Verify before waiting on certificates:
dig +short dokploy.yourdomain.comThat must return your VPS IP. Then load https://dokploy.yourdomain.com and confirm the certificate is real Let’s Encrypt, not a self-signed warning. Traefik requests it automatically once the domain is attached.
Wildcard DNS saves a step per app
One *.apps record makes a new app a panel-side action, not a DNS edit. It also makes a Traefik wildcard certificate worthwhile if per-host issuance gets old.
If the cert doesn’t issue: DNS hasn’t propagated (dig again, mind the TTL), port 80 is closed so the HTTP-01 challenge fails, or you’ve hit the Let’s Encrypt rate limit and need to wait. Underneath, Traefik is a reverse proxy driven by labels — the Traefik reverse proxy in Docker guide explains the routing model.
Start deploying apps in the Dokploy dashboard
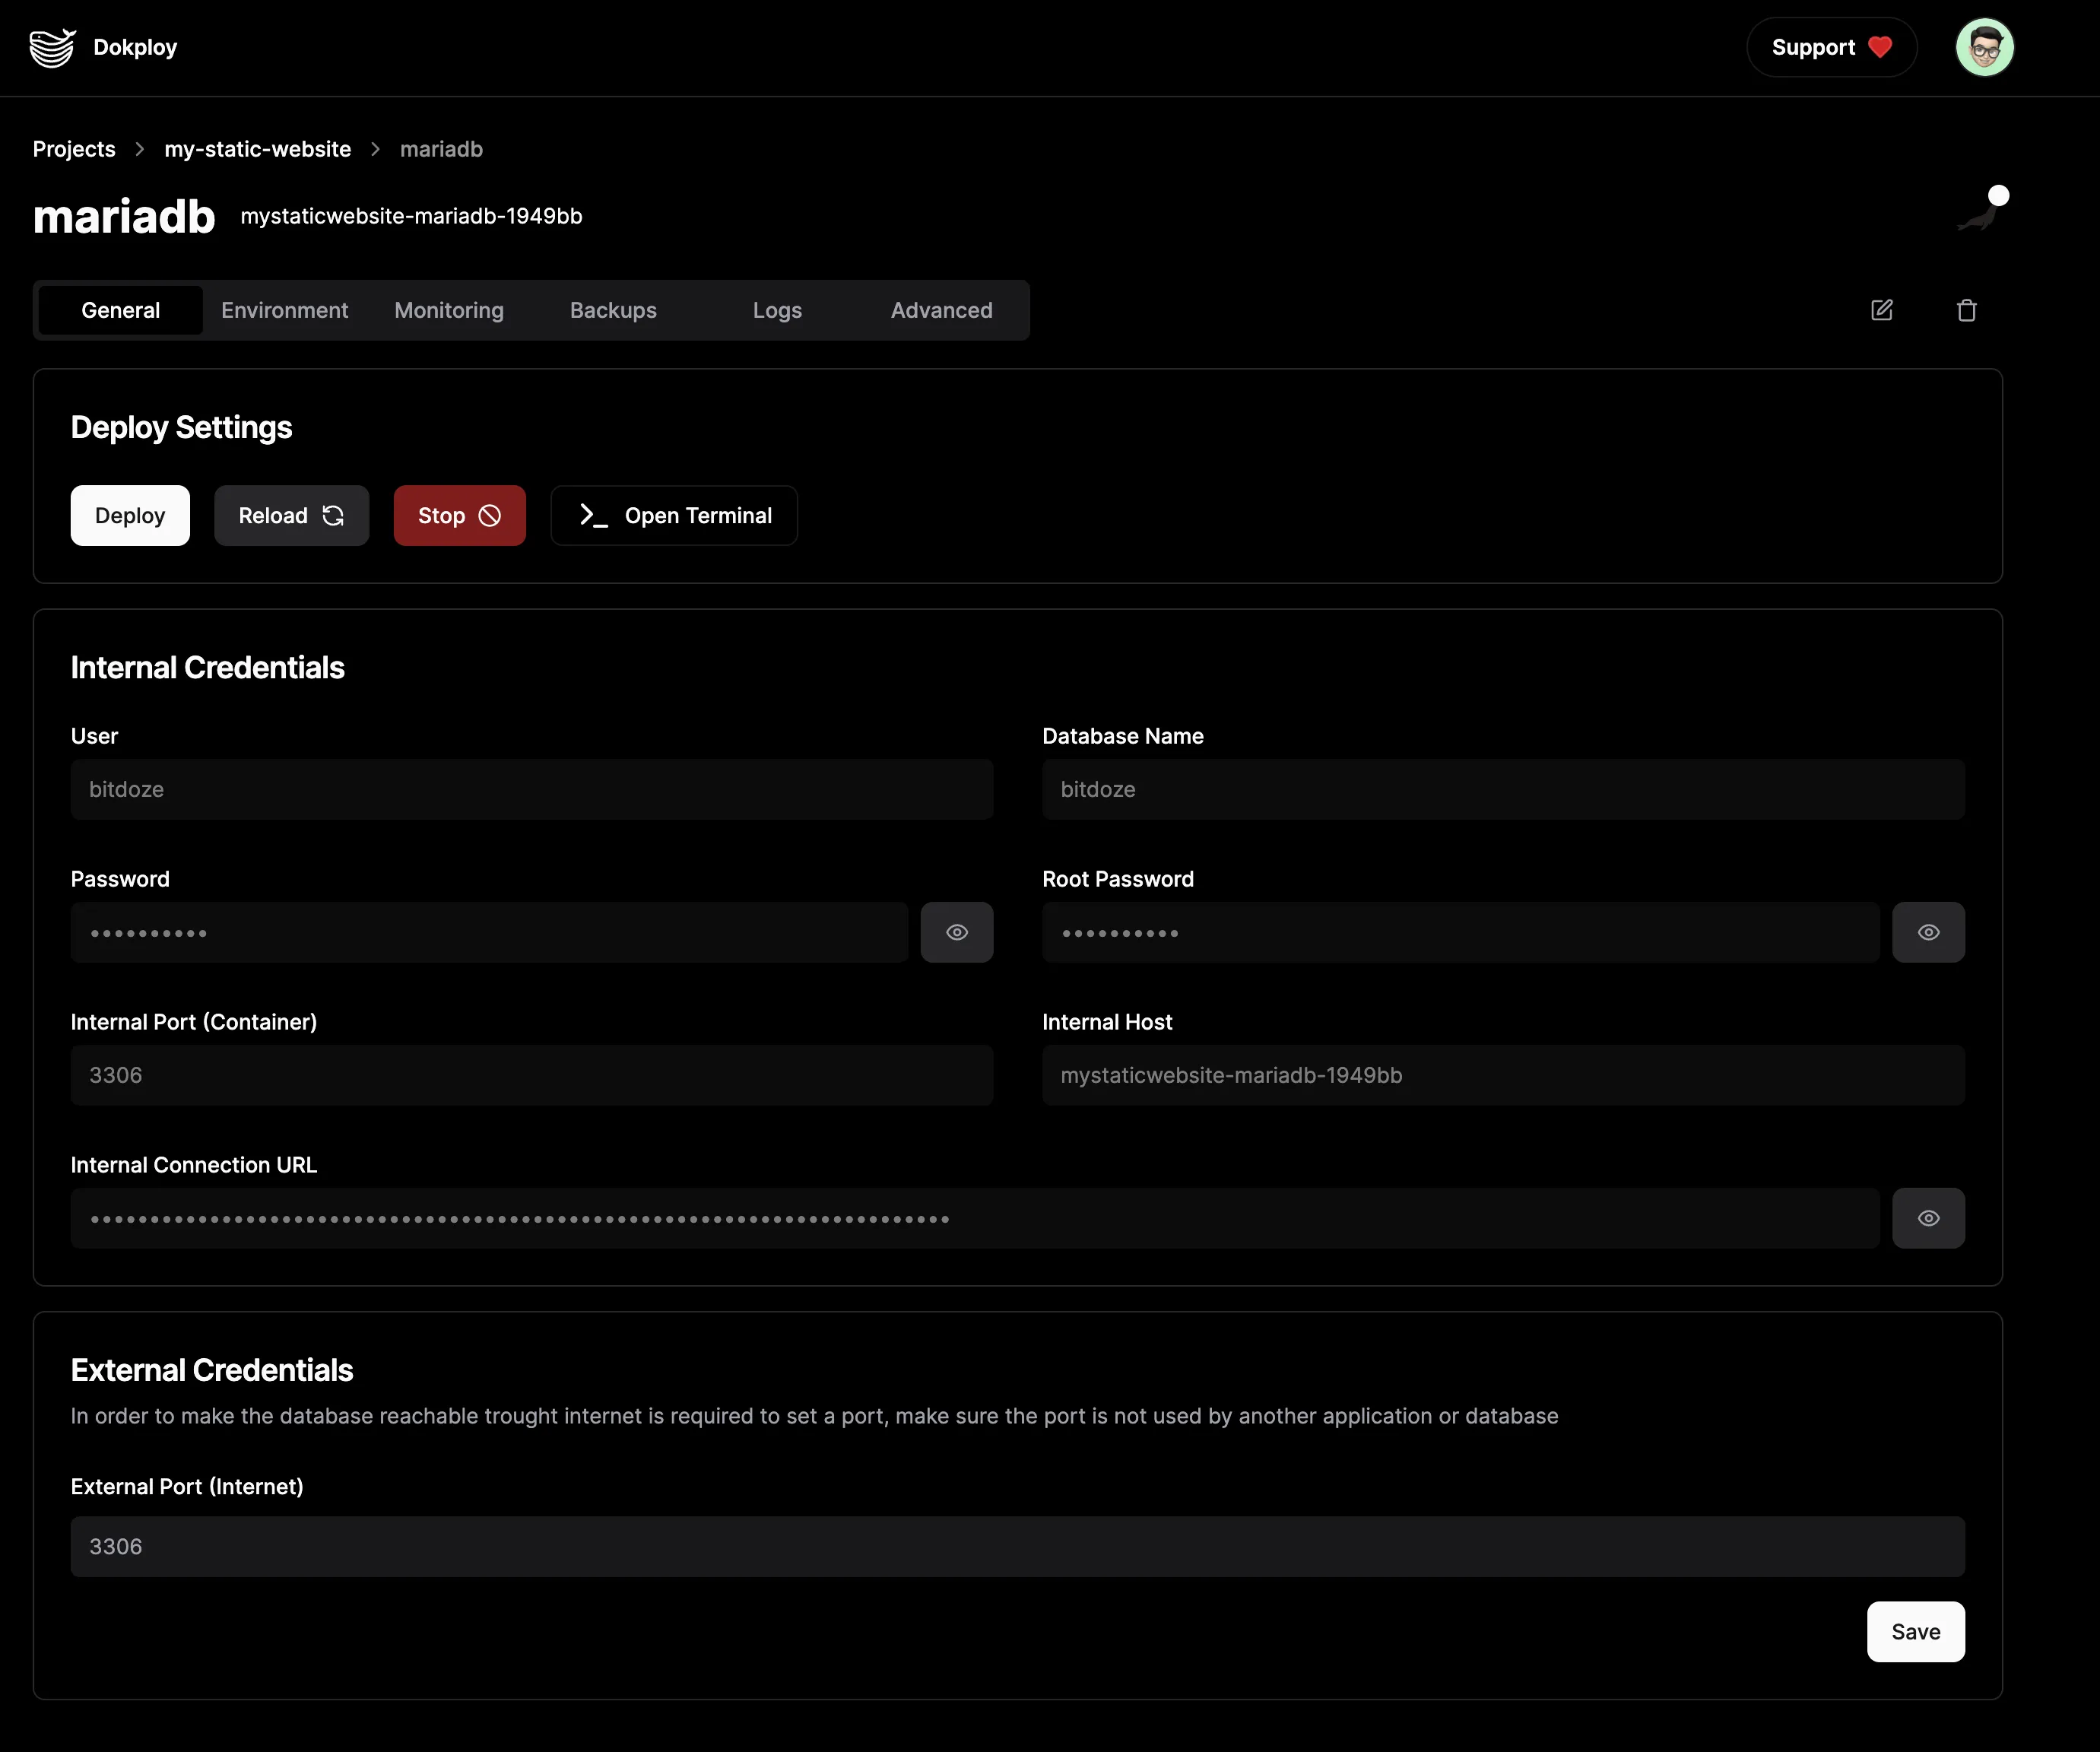
- Open the dashboard —
http://your_vps_ip:3000, orhttps://dokploy.yourdomain.comonce DNS and TLS resolve. - Create the admin account — the first-run screen. Do it before the panel is public, or whoever finds port 3000 owns your server.
- Create a project — a folder for related apps and databases.
- Deploy something — pick a path below.
- Add a database — PostgreSQL, MySQL, MariaDB, MongoDB or Redis, created and password-managed from the panel.
- Attach a domain — Domains tab, pick the hostname, save. Traefik handles the rest.
Git app
Point Dokploy at a GitHub/GitLab/Gitea repo or a raw Docker image, pick the build type (Dockerfile, buildpack or static), set env vars, deploy. Add the webhook for auto-deploy on push.
Docker Compose
Paste the compose file, add env vars in the panel, and set which container answers HTTP in the Domains tab. Details and Traefik labels: deploy a Docker Compose app in Dokploy.
Template
One-click services for databases, n8n, Uptime Kuma, Plausible and more — the fastest way to learn the panel. Self-hosting n8n with Docker, Traefik and Dokploy is a good first template.
Verify the deploy from both sides
A green badge in the dashboard and a 502 from Traefik is the classic mismatch. Check the container in the panel and docker ps on the host, then curl -I the public URL. Container up but URL 502ing usually means the domain isn’t attached or the app isn’t on Traefik’s network.
Once a database exists, order matters: automate Dokploy backups with Cloudflare R2 before real data goes in. A database with no backup isn’t deployed, it’s endangered.
Troubleshooting Common Dokploy Install Problems
The install script fails or exits early
Unsupported OS release, no disk space, or a half-initialised Swarm from a previous attempt:
df -h
docker info
If disk is fine and the OS is supported, re-run curl -sSL https://dokploy.com/install.sh | sh. It’s re-runnable — verify with docker ps, don’t assume.
I can't reach the Dokploy panel on port 3000
Check the listener and your rules:
ss -tulpn | grep 3000
sudo iptables -L INPUT -n --line-numbers
Then the layer above your server: Hetzner and Hostinger both have cloud firewalls that drop traffic before iptables sees it.
I locked myself out of SSH after the firewall or CrowdSec step
Use the provider’s rescue console and log in there:
iptables -P INPUT ACCEPT
iptables -A INPUT -p tcp --dport 22 -j ACCEPT
netfilter-persistent save
Then re-add the rest and save again. Never set a DROP policy from the session you’re testing it in. More in securing a VPS with CrowdSec.
Traefik returns 404 or 502 for my app
404 means Traefik doesn’t know the hostname; 502 means it found the route but nothing answers on the configured port. Check the Domains tab first — domain attached, target port matching what the app actually listens on. Then:
docker network inspect dokploy-networkA compose file declaring port 3000 while the app listens on 8080 gives a permanent 502 that looks like Traefik’s fault and isn’t.
My app is up but HTTPS fails or the certificate stays pending
DNS hasn’t propagated (dig +short your.domain), port 80 is closed so the HTTP-01 challenge can’t complete, or you’ve burned the Let’s Encrypt rate limit and need to wait. Fix DNS, test curl -I http://your.domain, then retry HTTPS.
The server runs out of memory or everything is slow
Almost always a 2 GB box running Postgres and an app:
free -h
docker stats --no-stream
Cheapest first: confirm swap is mounted, set Docker memory limits per service, use smaller images, or move the database off-box. Into swap under normal load means the plan is too small — resize rather than tune.
How do I update Dokploy?
Use the update mechanism in the panel, or the current path in the docs at dokploy.com. No curl one-liner from me: the update command has changed between releases. Snapshot the VPS and back up /etc/dokploy first — that directory is what turns a rebuild into a 10-minute job.
Before debugging anything, run the one-line health check:
docker ps && curl -I https://dokploy.yourdomain.com && free -hHardening, Backups and Ops Notes for a Dokploy Server
- Backups:
/etc/dokploycopied off-box, scheduled database dumps to S3-compatible storage, and a restore procedure you’ve actually run - Updates: Ubuntu
unattended-upgradesfor security patches; Docker and Dokploy on a schedule with a snapshot first - Exposure: don’t leave the panel on
:3000forever — put it behind a domain with TLS and restrict the port to your IP, or close it - Monitoring: Beszel + Uptime Kuma, so you hear about a full disk before your users see an error
- Resources: Docker memory limits per app, disk-space alerts, and a plan for the day the single VPS dies
One more layer worth having on a box that serves the public internet: NextDNS covers DNS-level filtering (malware, ad and tracking networks) while CrowdSec covers SSH and the host.
FAQ
Is Dokploy free?
Yes. Dokploy is open source and self-hosted, so the recurring cost is the VPS plus your time; a managed offering exists if you’d rather not patch a server. The Hetzner and Hostinger buttons above are affiliate links — they cost you nothing extra.
How much RAM and CPU does Dokploy need?
2 GB for the panel and one small app; 4 GB the moment you add PostgreSQL or MySQL on the same box. Databases on a 2 GB VPS are how the OOM killer meets your production data. 1 vCPU handles light traffic, 2 is comfortable, and start with 40 GB of disk.
Does Dokploy replace Vercel for a static site?
It can host it, but you lose what you were paying Vercel for: a global edge network serving every request from the nearest PoP. One VPS is one datacenter. Put a CDN in front and the gap mostly closes for static assets.
Can I run Dokploy on ARM (Hetzner CAX, Ampere) or a Raspberry Pi?
Docker, Traefik and most self-hosted apps run on ARM, but I haven’t tested this guide there, so I won’t claim it’s smooth: missing multi-arch images are the usual failure mode, and an old Raspberry Pi is a poor database host. For real services, use x86_64.
Dokploy or Coolify?
Both are free Docker panels with a reverse proxy, and both run the same app; the difference is in how deploys are configured and how much the panel hides from you. Pick one, deploy two real apps, then decide — switching cost is low. Fuller breakdown: the Coolify vs Dokploy vs Kamal 2 comparison.
Conclusion
You now have a small PaaS of your own: a sudo user instead of root, SSH locked down, swap configured, CrowdSec blocking brute-force attempts, Dokploy installed with Docker and Traefik, a domain with a real certificate, and a first app plus database running.
- System updates applied before anything else
- A dedicated sudo user instead of root
- SSH hardening — no root login, idle timeout
- CrowdSec with the iptables bouncer active
- Swap, so a memory spike doesn’t kill your database
Next, in the order I’d do it: database backups to S3-compatible storage, then Beszel and Uptime Kuma so problems find you first, then a second app from a Docker Compose stack — that’s where the panel starts paying for itself.
The honest cost line
Self-hosting Dokploy is a single-digit-euro VPS per month plus your time, and the time is the recurring part. If you’d rather not patch, back up and monitor a server, Vercel’s or Heroku’s bill is exactly what you’re buying instead of that work. Paying for both is the only genuinely wrong answer.
Still deciding? The Coolify vs Dokploy vs Kamal 2 comparison covers where each self-hosted PaaS fits.