Dockhand Docker Install: Security-Focused Container Manager
Step-by-step guide to install Dockhand with Docker Compose. Covers SQLite and PostgreSQL setups, OIDC/SSO, vulnerability scanning, auto-updates, and remote…

Updated Published 15 min read

Dockhand shipped its first release in December 2025 and has been putting out updates at a pace I rarely see from any project, new or old. Thirty-five releases in nine months, v1.0.14 through v1.0.48, roughly one a week. I installed it alongside Arcane on the same server to see how they compare, and while Arcane has the maturity edge, Dockhand’s security features caught my attention.
If you’re trying to decide between the two, read my Arcane vs Dockhand comparison first. This guide is for people who’ve already decided on Dockhand and want it running properly.
This guide was updated on 2026-09-23 for Dockhand v1.0.48. The Hawser agent section in particular changed: env vars instead of CLI flags, and the image lives at ghcr.io/finsys/hawser now.
Affiliate Disclosure
Some links in this guide are affiliate links. If you buy through them, we may earn a small commission at no extra cost to you. This helps us keep testing and updating these recommendations.
What Dockhand brings to the table
Dockhand is a Docker management UI built on Bun and SvelteKit. The security angle is what makes it different from other options in this space.
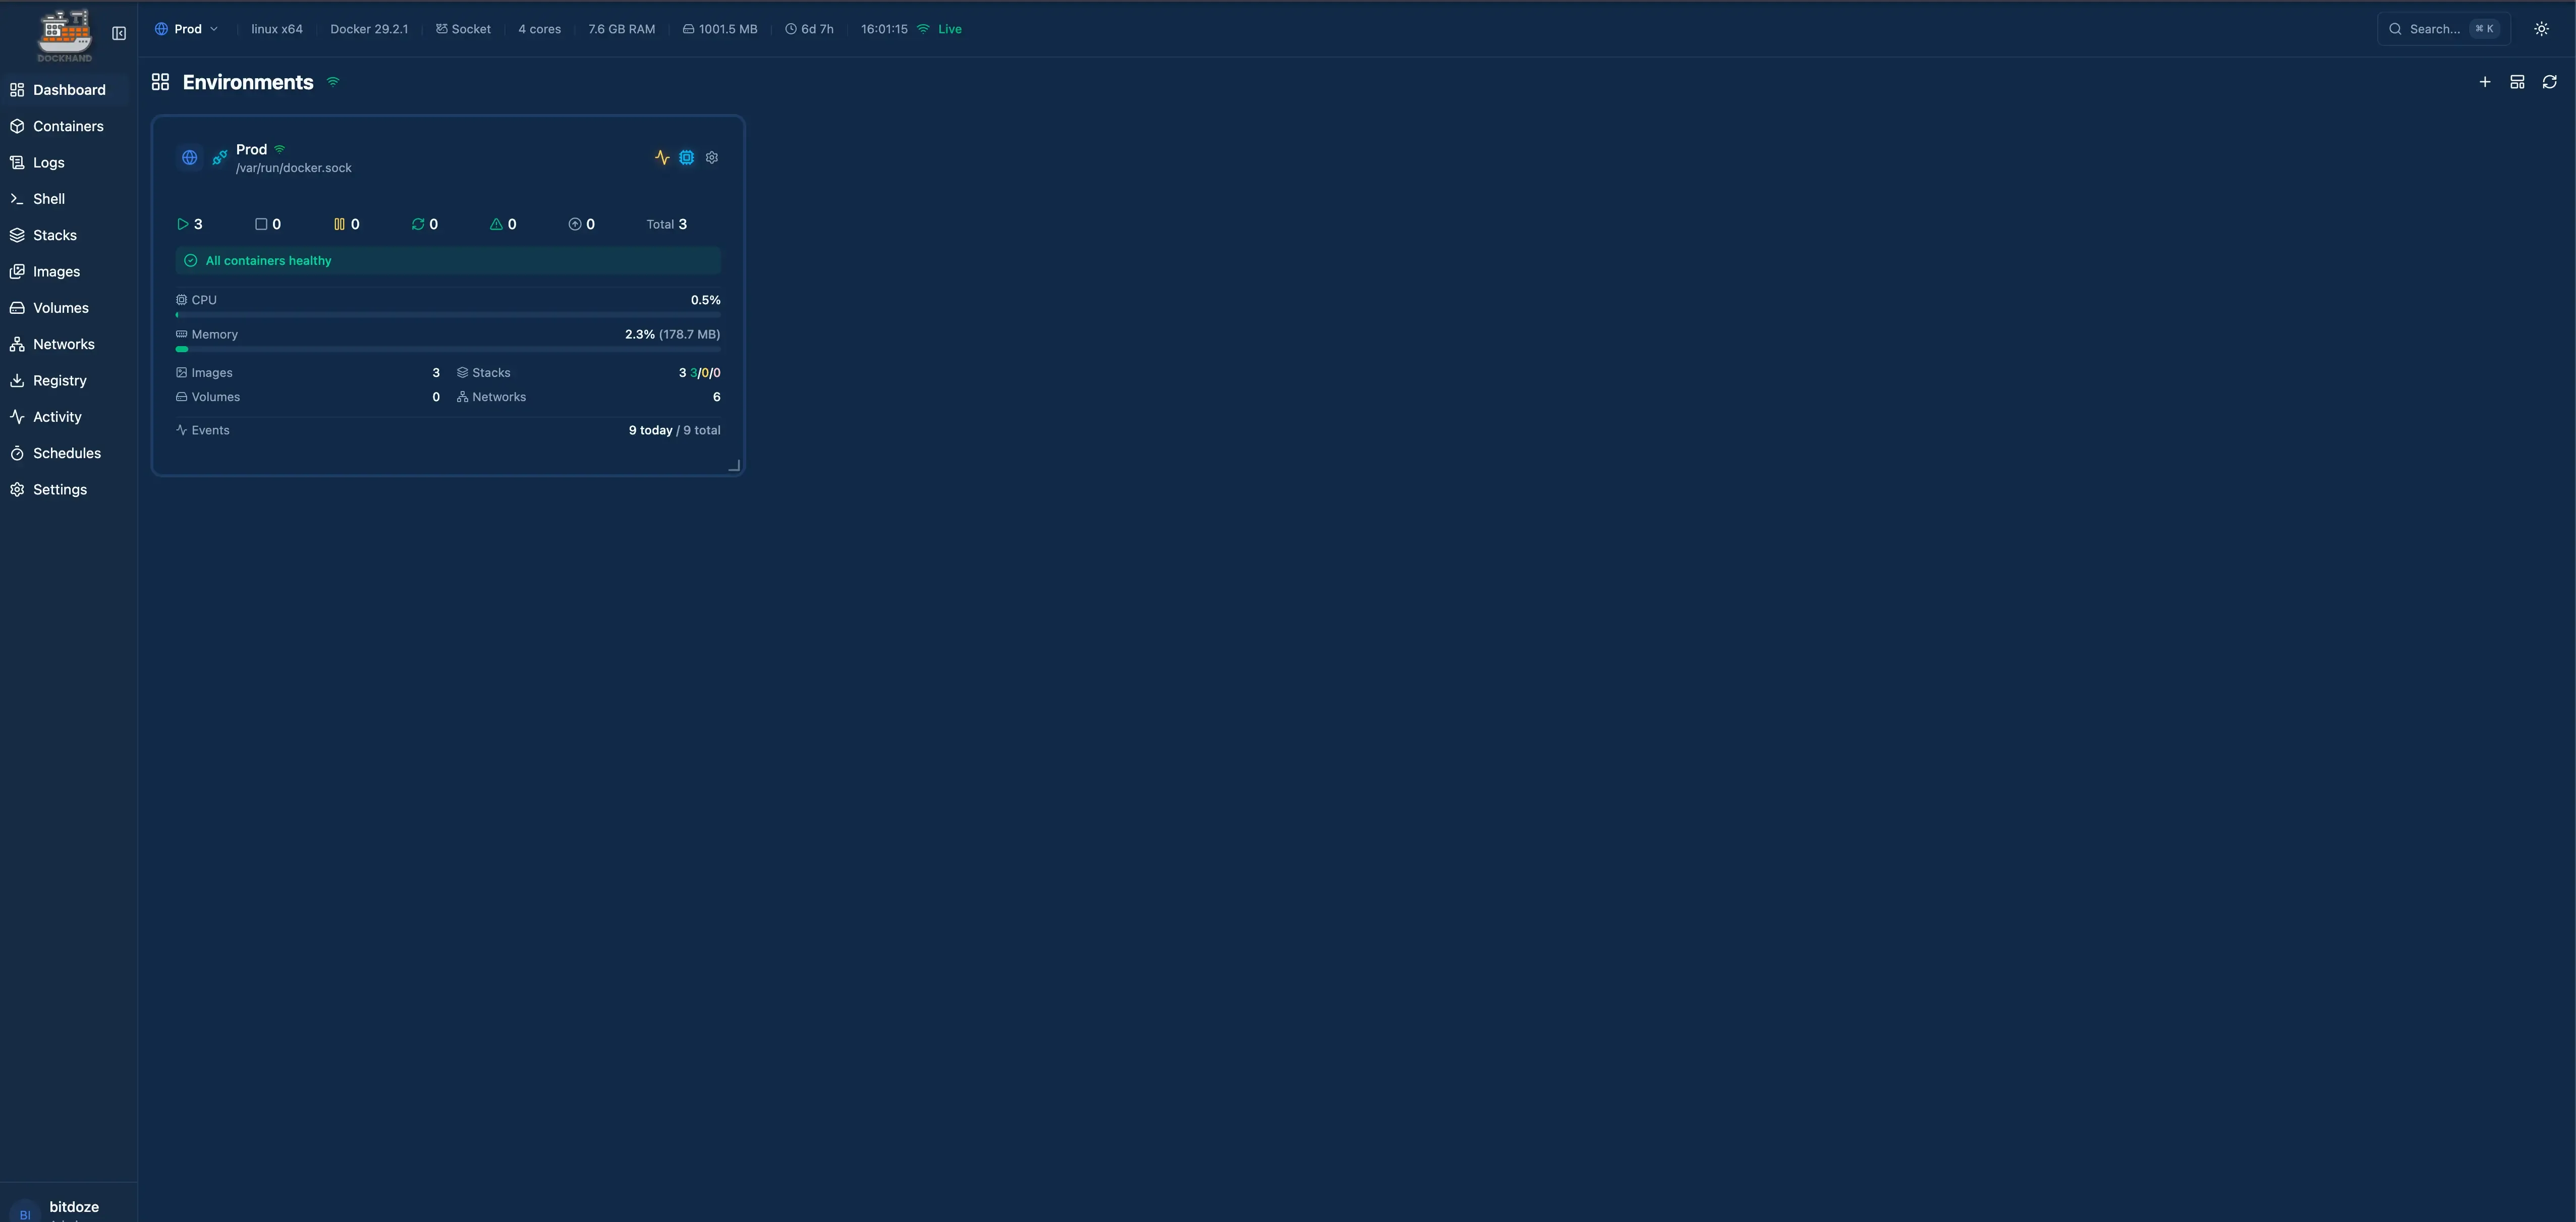
Here’s what stood out to me:
- Vulnerability scanning with Grype and Trivy built into the UI, with SARIF export
- Safe-pull protection: scans new images before replacing running containers
- OIDC/SSO included in the free tier (Portainer charges for this)
- MFA/TOTP support for local accounts
- Container file browser and web terminal
- Scheduled auto-updates with automatic rollback if something breaks
- restic-based encrypted backups for volumes, bind mounts, and stack files (beta)
- External secrets from 1Password, Vault, Infisical, Doppler, Bitwarden, Proton Pass, KeePassXC, Azure Key Vault
- Compose Validate linter that preflights your stack before deploy
- Activity logging for every action, Prometheus /metrics endpoint
- Notifications via SMTP, Apprise, MQTT, Zabbix, Pushover, and Teams
- Zero telemetry. Nothing phones home
The container image is built from scratch using Wolfi packages via apko. No Alpine or Debian base layer with packages you don’t need. Smaller attack surface by design.
One thing to know: Dockhand uses a BSL 1.1 license. Free for personal and internal business use. You can’t resell it as a hosted service. The license converts to Apache 2.0 in 2029. For self-hosting, this doesn’t matter.
Prerequisites
You need:
- A Linux server (VPS or local). I use Hetzner, Hostinger for VPS hosting
- Docker and Docker Compose installed
- Works on both amd64 and arm64 (Raspberry Pi 4 included)
VPS prices jumped across the board in 2026 — if you’re rethinking a rented box, see what changed and when a mini PC wins.
Hetzner VPS Hostinger VPS DigitalOcean $100 Free Vultr $100 FreeOr use a Mini PC as home server.
Install Docker
If Docker isn’t set up yet:
sudo apt-get update
sudo apt-get install ca-certificates curl gnupg lsb-release
sudo mkdir -p /etc/apt/keyrings
curl -fsSL https://download.docker.com/linux/debian/gpg | sudo gpg --dearmor -o /etc/apt/keyrings/docker.gpg
echo \
  "deb [arch=$(dpkg --print-architecture) signed-by=/etc/apt/keyrings/docker.gpg] https://download.docker.com/linux/ubuntu \
  jammy stable" | sudo tee /etc/apt/sources.list.d/docker.list > /dev/null
sudo apt-get update
sudo apt-get install docker-ce docker-ce-cli containerd.io docker-compose-plugin docker-compose
Full walkthrough: Install Docker & Docker-compose for Ubuntu.
Install Dockhand with Docker Compose
You have three options depending on your needs: a quick single command, SQLite-based compose, or PostgreSQL-backed compose. I’ll cover all three.
Quick install (single command)
If you just want to kick the tires:
docker run -d \
  --name dockhand \
  --restart unless-stopped \
  -p 3000:3000 \
  -v /var/run/docker.sock:/var/run/docker.sock \
  -v dockhand_data:/app/data \
  fnsys/dockhand:latest
That’s it. Open http://your-server-ip:3000 and create your admin account. For a permanent setup, I’d use one of the compose methods below instead.
Docker Compose with SQLite (recommended for most users)
Create a directory and compose file:
mkdir -p /opt/dockhand
cd /opt/dockhand
Create compose.yaml:
services:
  dockhand:
    image: fnsys/dockhand:v1.0.48
    container_name: dockhand
    restart: unless-stopped
    ports:
      - "3000:3000"
    volumes:
      - /var/run/docker.sock:/var/run/docker.sock
      - dockhand_data:/app/data
volumes:
  dockhand_data:
Pin the version tag like I did here rather than running :latest. Weekly releases are great until one lands while you’re not watching.
Start it:
docker compose up -dOpen http://your-server-ip:3000. The first-run wizard walks you through creating an admin account. SQLite is the default database and works well for single-server setups. The data lives in the dockhand_data volume.
Docker Compose with PostgreSQL
If you’re managing a lot of containers or want the database running separately for backup purposes, use PostgreSQL:
services:
  postgres:
    image: postgres:16-alpine
    container_name: dockhand-db
    restart: unless-stopped
    environment:
      POSTGRES_USER: dockhand
      POSTGRES_PASSWORD: change-this-password
      POSTGRES_DB: dockhand
    volumes:
      - postgres_data:/var/lib/postgresql/data

  dockhand:
    image: fnsys/dockhand:v1.0.48
    container_name: dockhand
    restart: unless-stopped
    ports:
      - "3000:3000"
    environment:
      DATABASE_URL: postgres://dockhand:change-this-password@postgres:5432/dockhand
    volumes:
      - /var/run/docker.sock:/var/run/docker.sock
      - dockhand_data:/app/data
    depends_on:
      - postgres

volumes:
  postgres_data:
  dockhand_data:
Change the database password
Replace change-this-password in both the POSTGRES_PASSWORD and DATABASE_URL fields with an actual strong password. Use the same password in both places.
Setting up vulnerability scanning
This is one of Dockhand’s best features and it’s included in the free tier. You can scan your container images for known vulnerabilities using either Grype or Trivy.
After logging in, go to the settings page and enable vulnerability scanning. Choose your scanner:
Grype
Grype is the default option. It’s fast, developed by Anchore, and pulls vulnerability data from multiple sources. Scans run against your local images without sending anything to external servers.
Trivy
Trivy by Aqua Security is the other option. It supports more scan targets (OS packages, language-specific dependencies, IaC files) but is slightly slower. If you need deeper scanning beyond container images, Trivy is the better pick.
The safe-pull feature ties into scanning. When Dockhand auto-updates a container, it pulls the new image, scans it for vulnerabilities, and only switches over if the scan passes. If the new image has problems, your running container stays untouched. I’ve had this catch a bad image update twice in three weeks.
Scheduled auto-updates
Dockhand can check for new container images on a schedule and update them automatically. Combined with the safe-pull protection mentioned above, this is actually usable in practice. I say “actually usable” because most auto-update tools don’t verify the new image works before swapping it in.
Set this up per container or per stack in the UI. You pick a schedule (e.g., daily at 3am), and Dockhand handles the rest. If an update fails or the new container doesn’t start properly, it rolls back.
Configuring OIDC/SSO
OIDC support is free in Dockhand. No paid tier needed. If you run Authentik, Keycloak, or any other OIDC provider, you can set up single sign-on.
In the Dockhand UI, go to Settings and configure your OIDC provider with:
- Client ID
- Client secret
- Issuer URL / Discovery URL
Users are auto-provisioned on first login. Once OIDC is working, you can hide the local password login by setting the DISABLE_LOCAL_LOGIN environment variable. That way users can only authenticate through your identity provider.
MFA is separate from OIDC
If you’re using local accounts instead of OIDC, Dockhand supports TOTP-based MFA. Each user can enable it from their profile settings. If you’re using OIDC, MFA is handled by your identity provider instead. Note that LDAP/AD and RBAC sit on the Enterprise tier; OIDC and MFA are what’s free.
Reverse proxy setup
Dockhand runs on port 3000 by default. For SSL and a proper domain, put a reverse proxy in front of it. WebSocket support is needed for live container logs and metrics.
Nginx
server {
    listen 443 ssl http2;
    server_name dockhand.yourdomain.com;

    ssl_certificate /path/to/cert.pem;
    ssl_certificate_key /path/to/key.pem;

    location / {
        proxy_pass http://127.0.0.1:3000;
        proxy_http_version 1.1;
        proxy_set_header Upgrade $http_upgrade;
        proxy_set_header Connection "upgrade";
        proxy_set_header Host $host;
        proxy_set_header X-Real-IP $remote_addr;
        proxy_set_header X-Forwarded-For $proxy_add_x_forwarded_for;
        proxy_set_header X-Forwarded-Proto $scheme;
    }
}
Traefik
Add labels to the Dockhand service in your compose file:
labels:
  - "traefik.enable=true"
  - "traefik.http.routers.dockhand.rule=Host(`dockhand.yourdomain.com`)"
  - "traefik.http.routers.dockhand.entrypoints=websecure"
  - "traefik.http.routers.dockhand.tls.certresolver=letsencrypt"
  - "traefik.http.services.dockhand.loadbalancer.server.port=3000"
Full Traefik setup: How to use Traefik as a reverse proxy in Docker.
Cloudflare Tunnels
Point a tunnel at http://localhost:3000. SSL and WebSocket handling are automatic. This is the easiest option if you don’t want to manage certificates or open ports.
Managing remote hosts with Hawser
Dockhand can manage Docker on remote machines through the Hawser agent. Hawser is open source (Go, MIT), separate from Dockhand itself, and it has two modes:
- Standard: the agent listens on port 2376 and Dockhand connects to it. Good for LAN and homelab machines with static IPs. A
TOKENis required on any non-loopback bind, because a listening agent without one would expose an unauthenticated Docker API to the network. - Edge: the agent makes an outbound WebSocket connection to Dockhand. Nothing inbound, so it works behind NAT, firewalls, and dynamic IPs. This is the mode most people want.
Create the remote host inside Dockhand first (Environments, then add) so it generates the agent token. Then on the remote machine, Edge mode looks like this:
docker run -d \
  --name hawser \
  --restart unless-stopped \
  -v /var/run/docker.sock:/var/run/docker.sock \
  -e DOCKHAND_SERVER_URL=wss://dockhand.yourdomain.com/api/hawser/connect \
  -e TOKEN=your-agent-token \
  ghcr.io/finsys/hawser:latest
The agent connects to your Dockhand instance and the remote host shows up in your dashboard, with auto-reconnect on network drops. Both modes expose a small health endpoint at /_hawser/health on port 2376; in Edge mode bind it to localhost (BIND_ADDRESS=127.0.0.1) so the host keeps zero reachable surface.
Same 1:1 path rule as Arcane
If your compose stacks use relative bind mounts (./config.conf:/app/config.conf), Hawser’s STACKS_DIR must be a host path mounted at the same path inside the container: -v /opt/stacks:/opt/stacks -e STACKS_DIR=/opt/stacks. Docker resolves bind sources on the host filesystem, so a named volume or a mismatched path breaks relative mounts.
Environment variables reference
| Variable | Default | What it does |
|---|---|---|
DATABASE_URL |
SQLite | PostgreSQL connection string |
PUID / PGID |
1000 |
File ownership user/group |
DISABLE_LOCAL_LOGIN |
false |
Hide password login when SSO is active |
SKIP_DF_COLLECTION |
false |
Skip disk usage collection (useful on NAS devices) |
DATA_DIR |
/app/data |
Custom data directory path |
FEAT_API_DOCS |
false |
Serve the interactive OpenAPI docs at /api/docs |
Troubleshooting
Container logs show permission denied
Check that the PUID and PGID values match a user with access to the Docker socket. On most systems, the Docker socket belongs to the docker group. Find the group ID with:
getent group dockerUse that GID as your PGID value.
Vulnerability scans fail or time out
The first scan takes longer because Grype or Trivy needs to download the vulnerability database. Subsequent scans are faster. If it keeps timing out, check that the container has internet access (DNS resolution, outbound HTTPS).
Dockhand uses too much CPU on my NAS
Set SKIP_DF_COLLECTION=true in your environment variables. Disk usage collection can be heavy on certain NAS devices with many mount points.
Hawser agent won't connect
Verify the token is correct and the DOCKHAND_SERVER_URL is reachable from the remote machine. Edge mode is a WebSocket, so the URL starts with wss:// and ends in /api/hawser/connect, not just the plain domain. If Dockhand sits behind a reverse proxy, make sure it forwards WebSocket upgrades. In Standard mode, Hawser refuses to start without a TOKEN on a non-loopback bind; check the container logs for that error first.
Pricing
Worth being clear about this. Dockhand has a tiered pricing model:
| Tier | Cost | What you get |
|---|---|---|
| Free | $0 | Full features for homelab use, OIDC/SSO included |
| SMB | $499/host/year | Commercial support, priority updates |
| Enterprise | $1,499/host/year | RBAC, LDAP/AD, audit logging, dedicated support |
The free tier is legitimately full-featured. OIDC, MFA, vulnerability scanning, auto-updates, restic backups, the secrets-manager integrations, multi-host, all included. You only pay if you need RBAC, LDAP, or commercial support. That’s a better deal than what Portainer offers at the free level.
My take, nine months later
Dockhand is a v1 product that doesn’t feel like one. The UI is polished, the security features work well, and the update pace has held: a release a week, plus an ecosystem forming around it (a community MCP server, a Home Assistant integration, an iOS client).
The safe-pull feature is still my favorite thing about it. I set auto-updates on all my non-critical containers and let it run. It caught two bad image updates by scanning them before deploying. Both times, my running containers were left untouched while the new images got flagged.
What gave me pause in February was the project’s age: 74 commits and 7 contributors at the time. It’s now ~470 commits and ~35 contributors, and the v1.0.45 “important security upgrade” release showed the maintainer treats its own attack surface seriously. The caveat that remains is the license: BSL 1.1 is fine for self-hosting, but it isn’t OSI open source, and RBAC/LDAP sit behind Enterprise pricing.
If security features are your priority, Dockhand is worth installing. If you want something more battle-tested or fully open source, check out how to install Arcane instead. For the rest of the field, my Portainer alternatives comparison covers Sencho, Dockge, Komodo, and more.
Related articles
- Best Portainer alternatives in 2026 - the full Docker management UI comparison
- Arcane vs Dockhand - side-by-side comparison of both tools
- Install Arcane - the other Docker manager covered in this series
- Install Dockge - another Docker management UI
- Best Docker containers for home server - what to run once your manager is set up
- Best self-hosted panels - server management panels compared
- Traefik reverse proxy for Docker - proper reverse proxy setup
- Docker auto-update with Tugtainer - keep containers updated
- Server monitoring tools - monitoring your Docker host